Install and configure iSCSI feature on Window System
Prerequisite:
Configure ISCSI feature on Domain Controller Server for SQL Server always on availability groups.
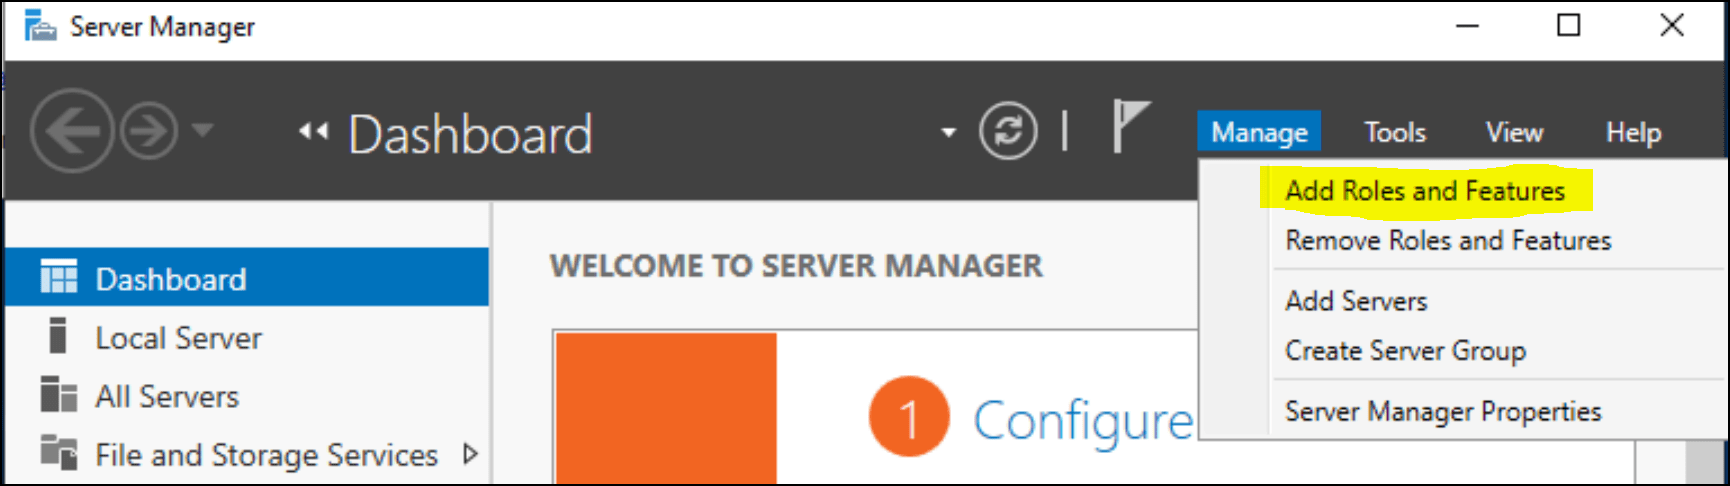
First, Install the ISCSI target Server from the Windows Server Manager. Open the Server Manager and go to Manage tab. Choose the iSCSI Target Server in the Add Roles and Features Wizard.
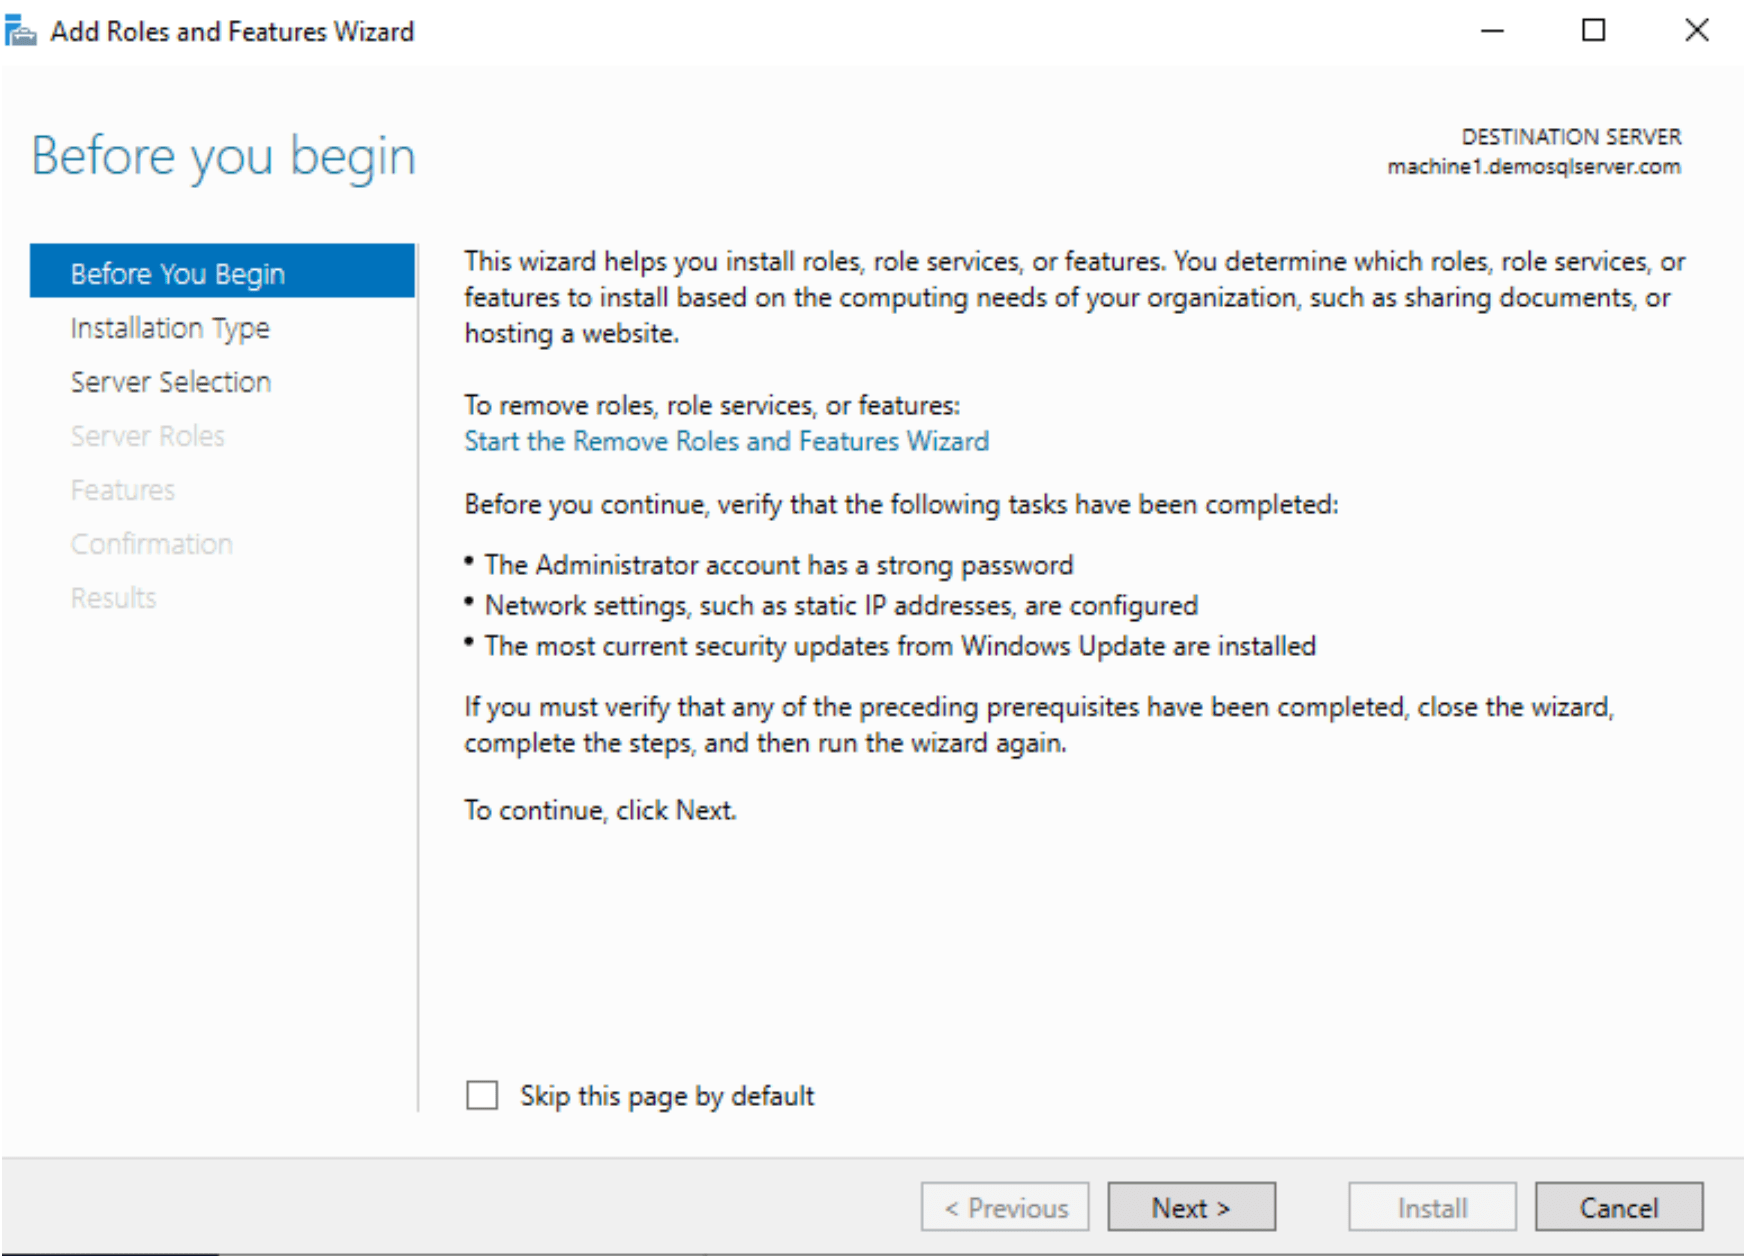
Add Roles and Features Wizard open, This wizard helps you install roles, role services, or features. You determine which roles, role services, or features to install based on the computing needs of your organization, such as iSCSI feature. Press Next
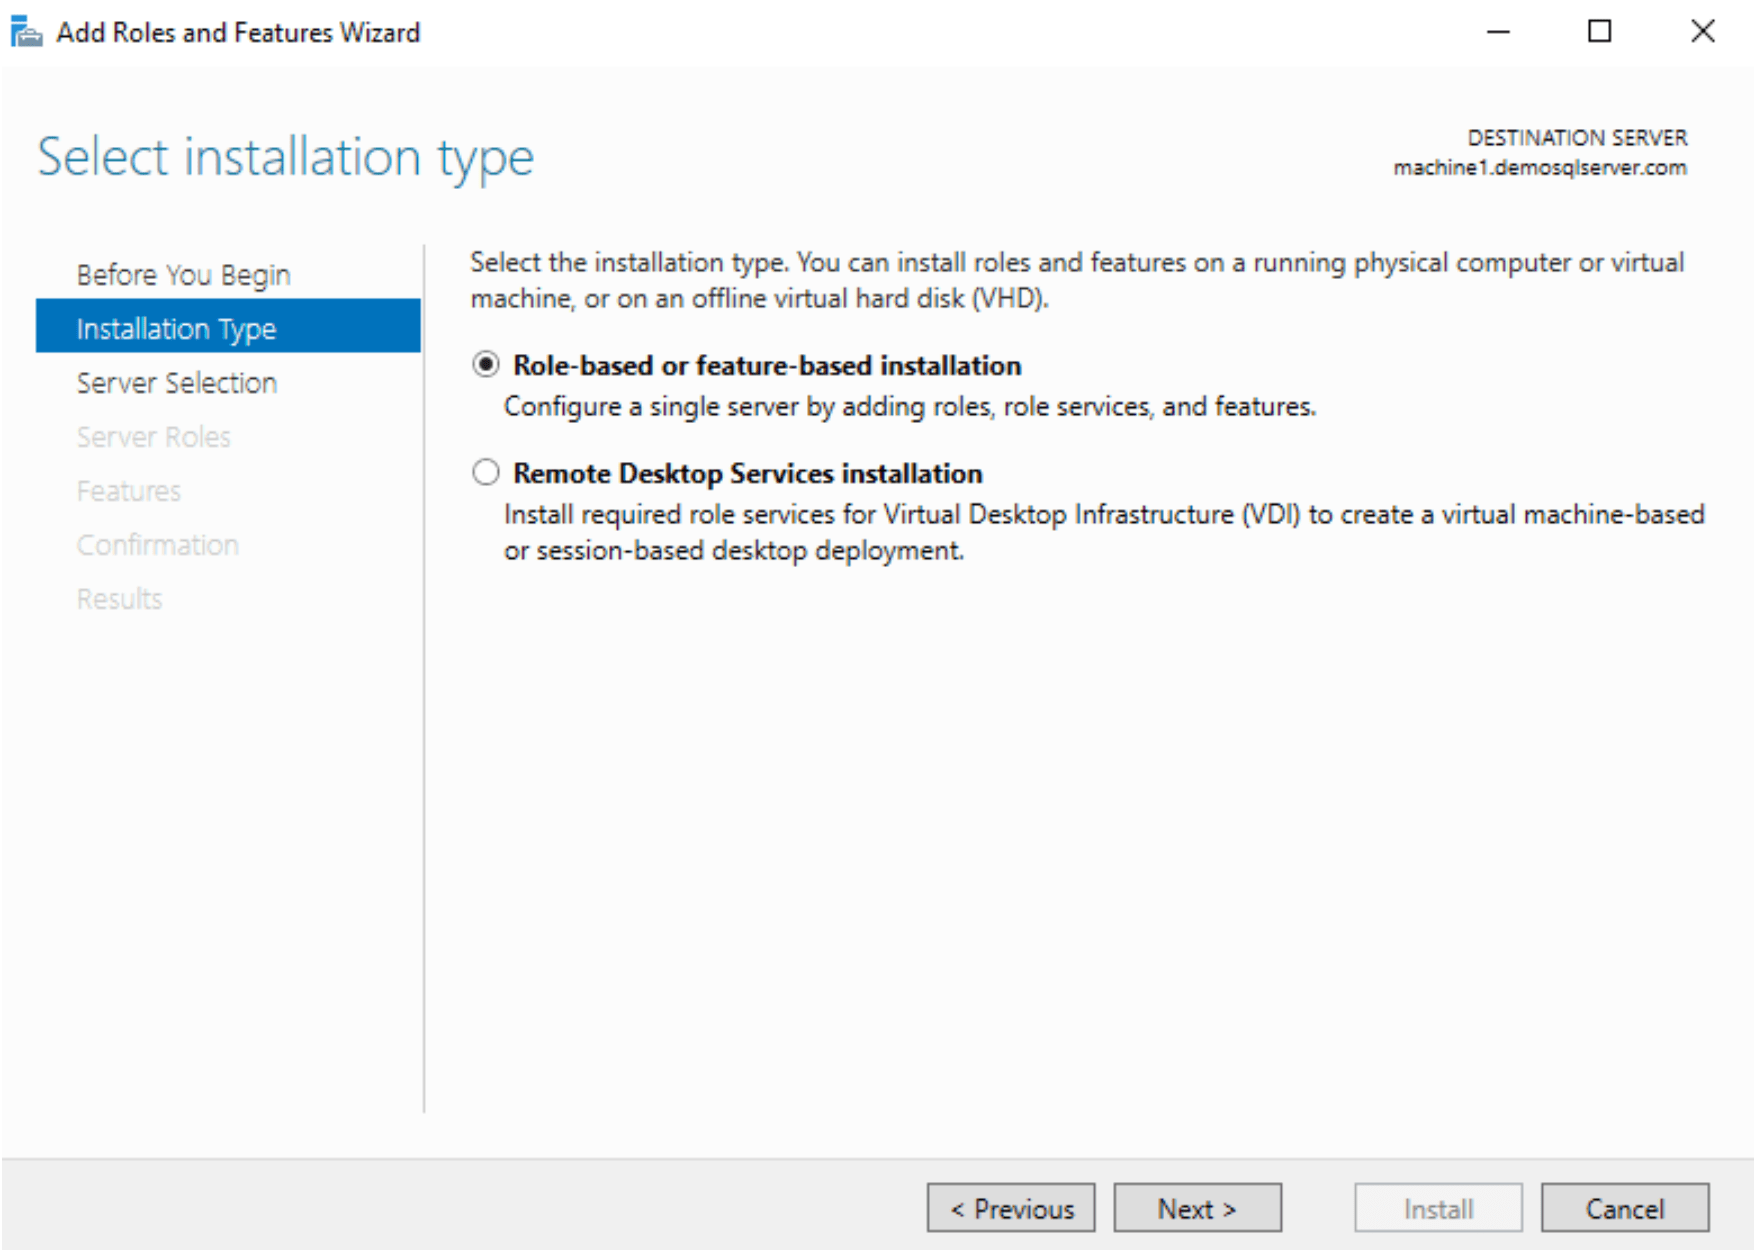
Select the installation type. You can go with Role-based or feature-based installation
Expand the File and Storage services in the Server roles and choose the iSCSI Target Server which provides services and management tools for iSCSI targets

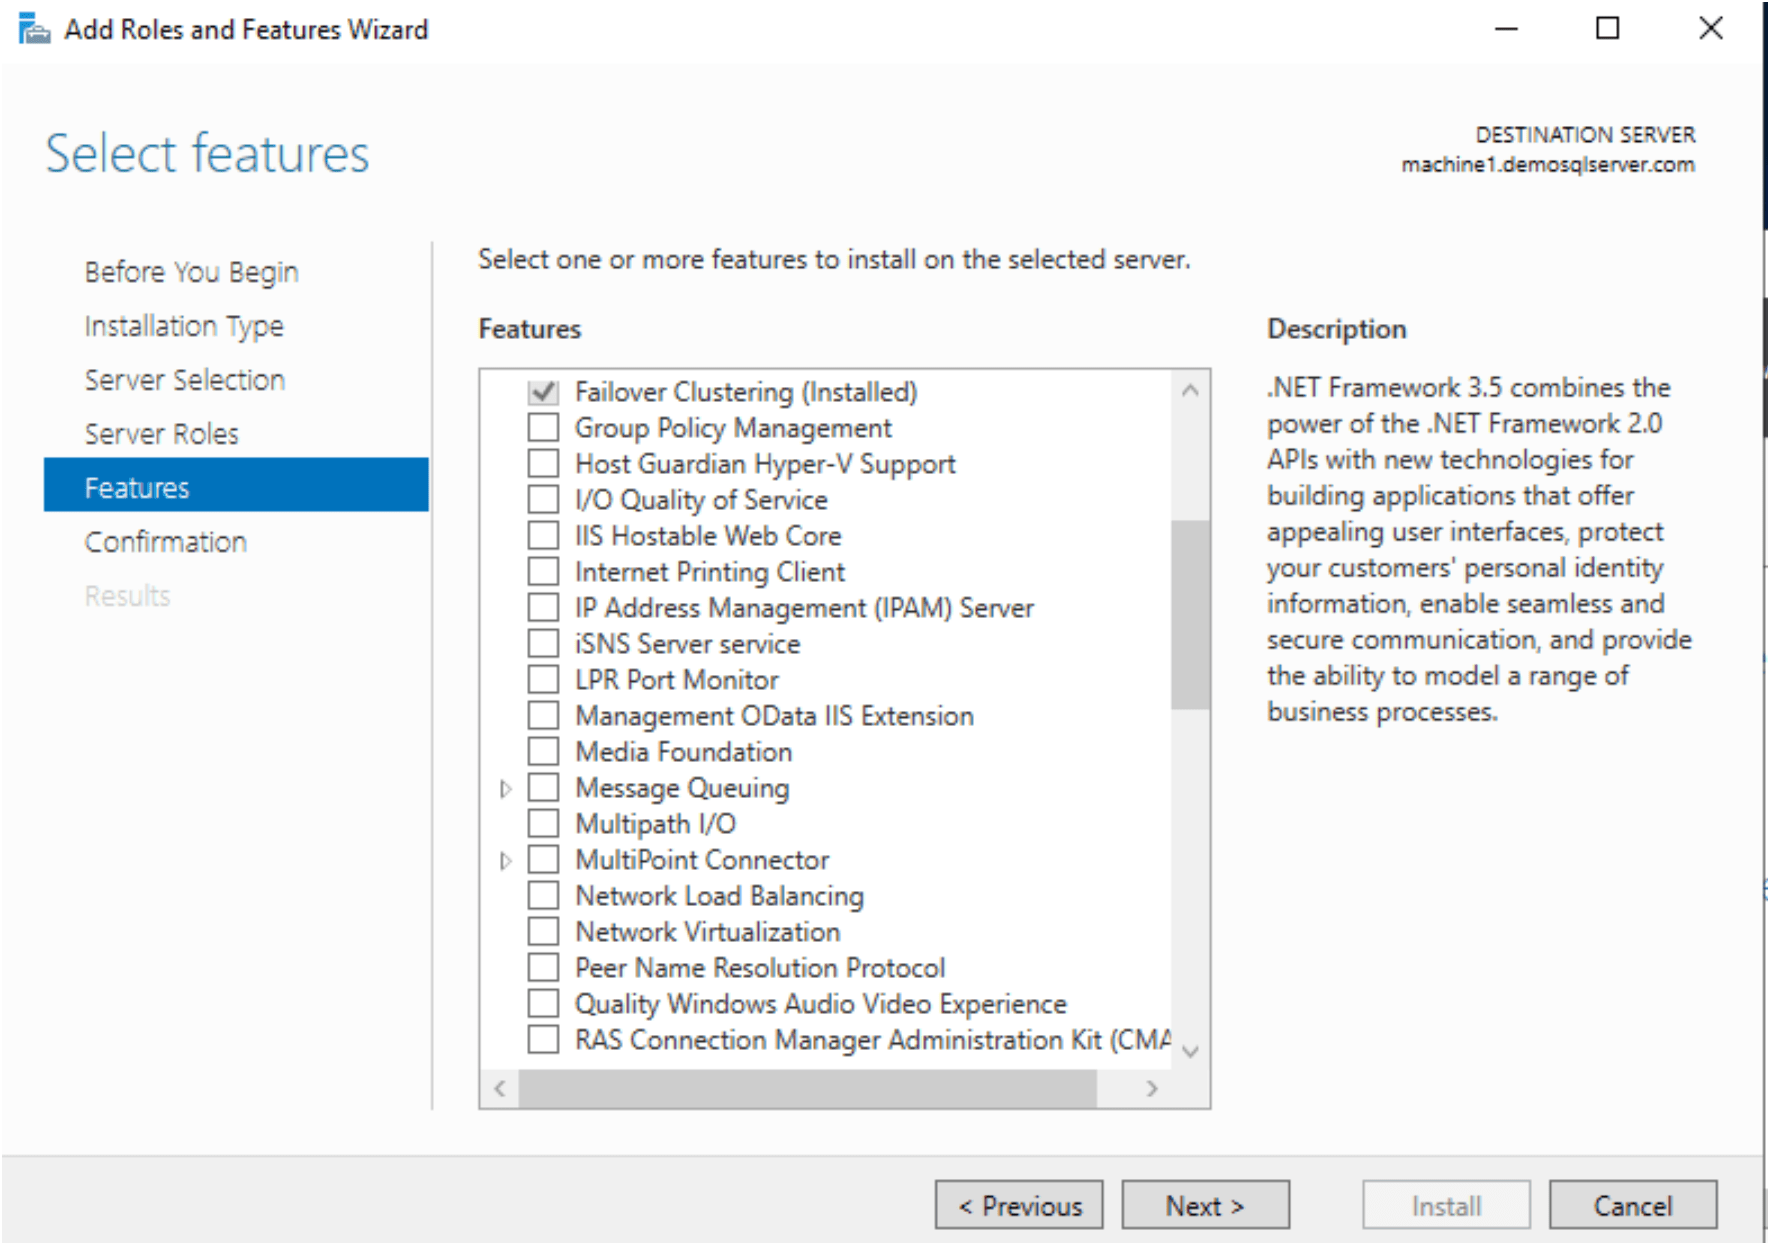
In Select features window, simple go for NEXT.
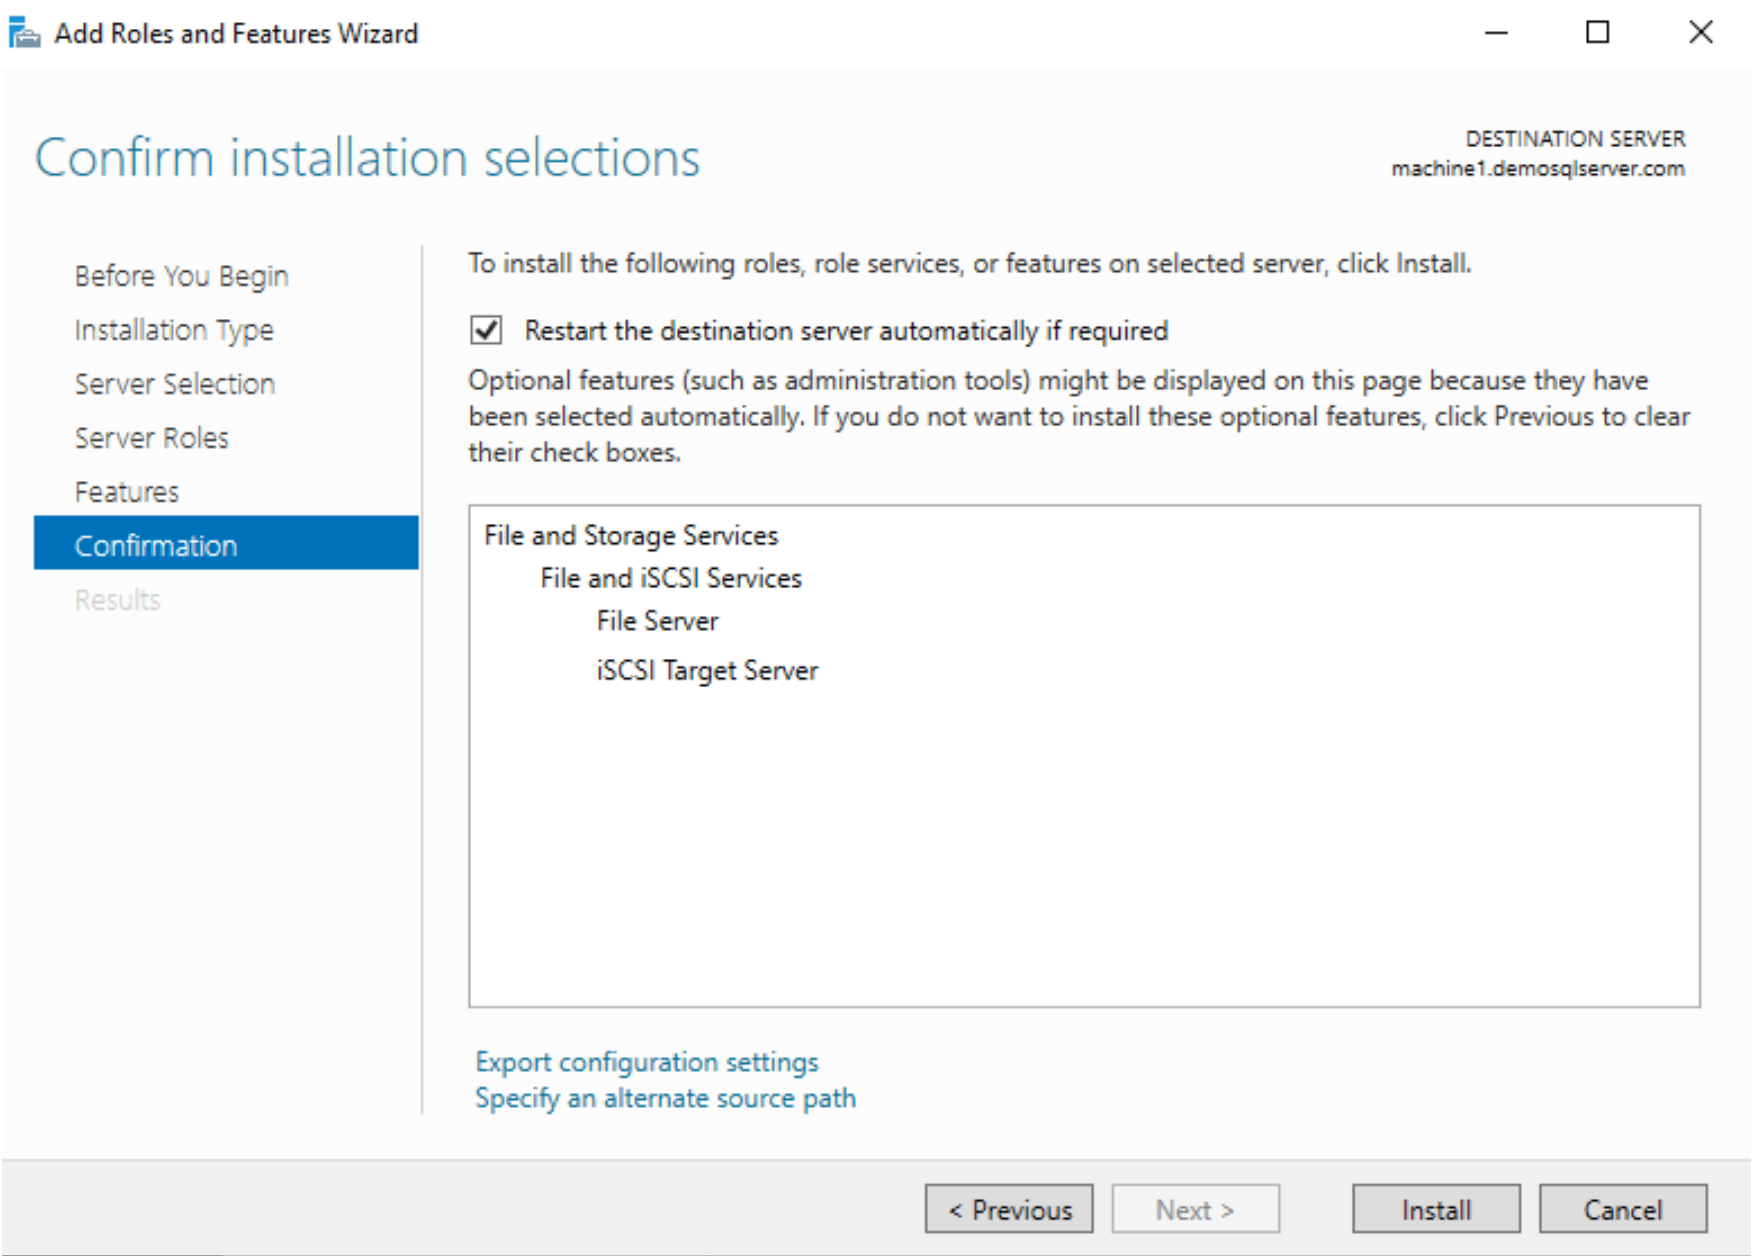
In next Confirm installation selections window, Check the restart the destination server automatically if required option and press Install button for proceed with installation
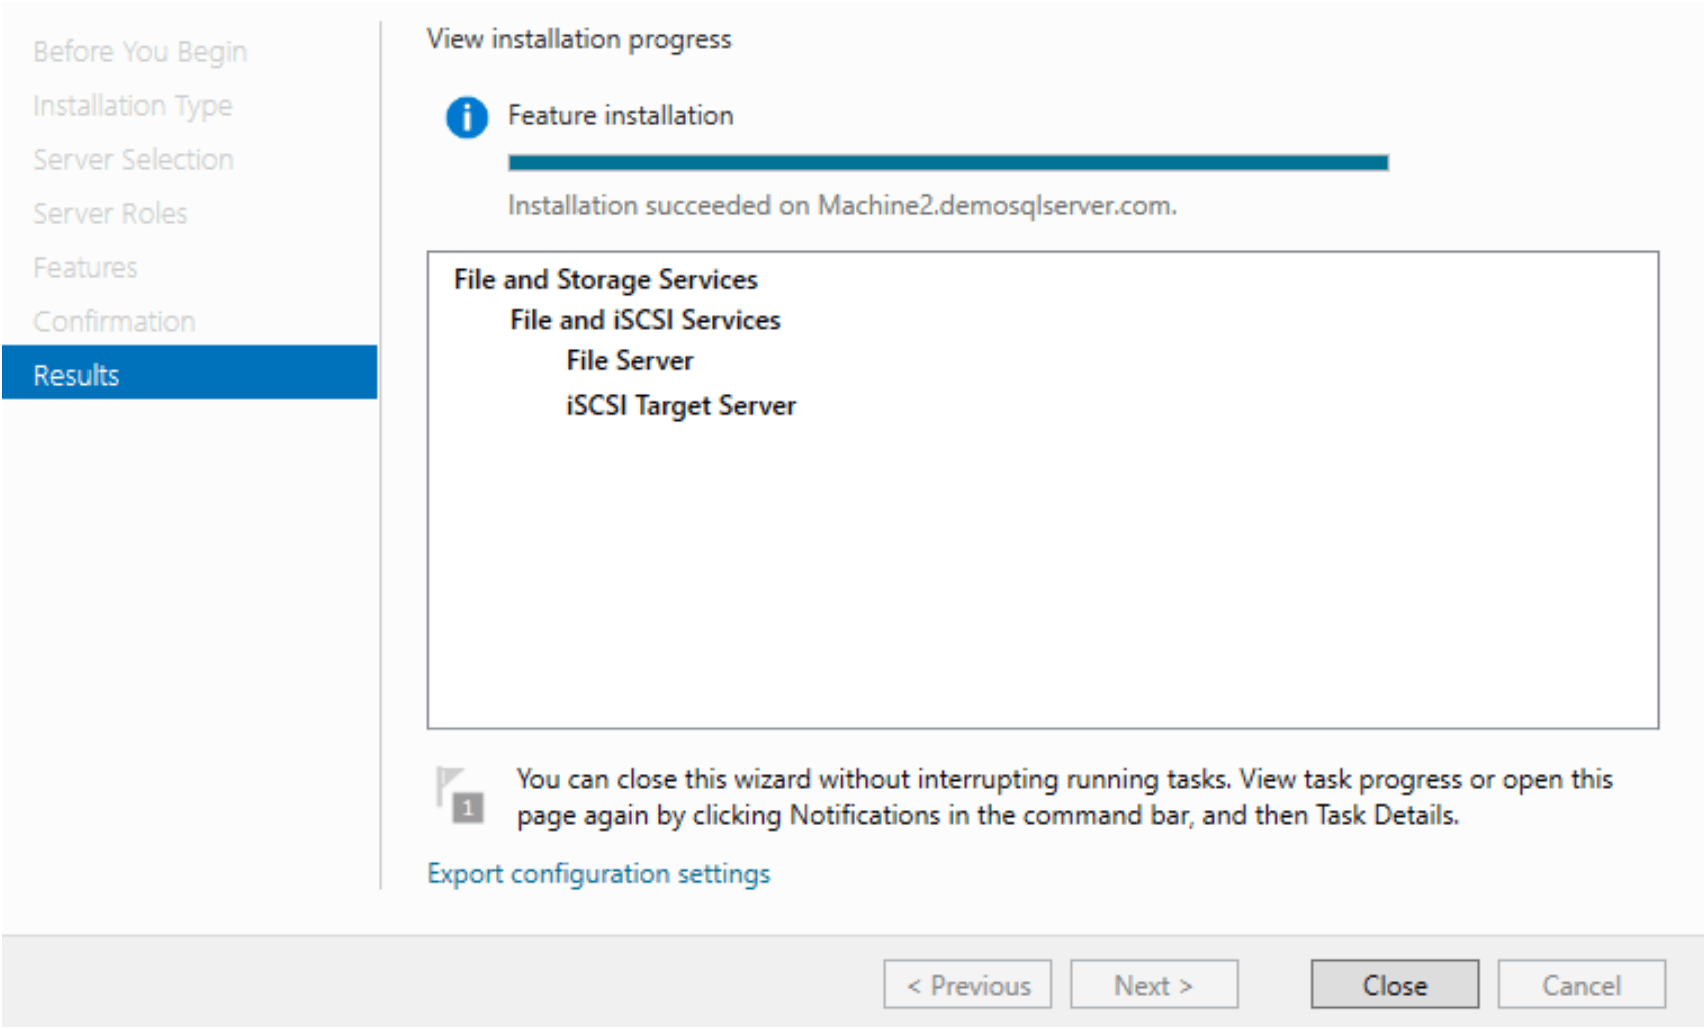
Once installation done then we restart the Server.
Configure the ISCSI Target Server
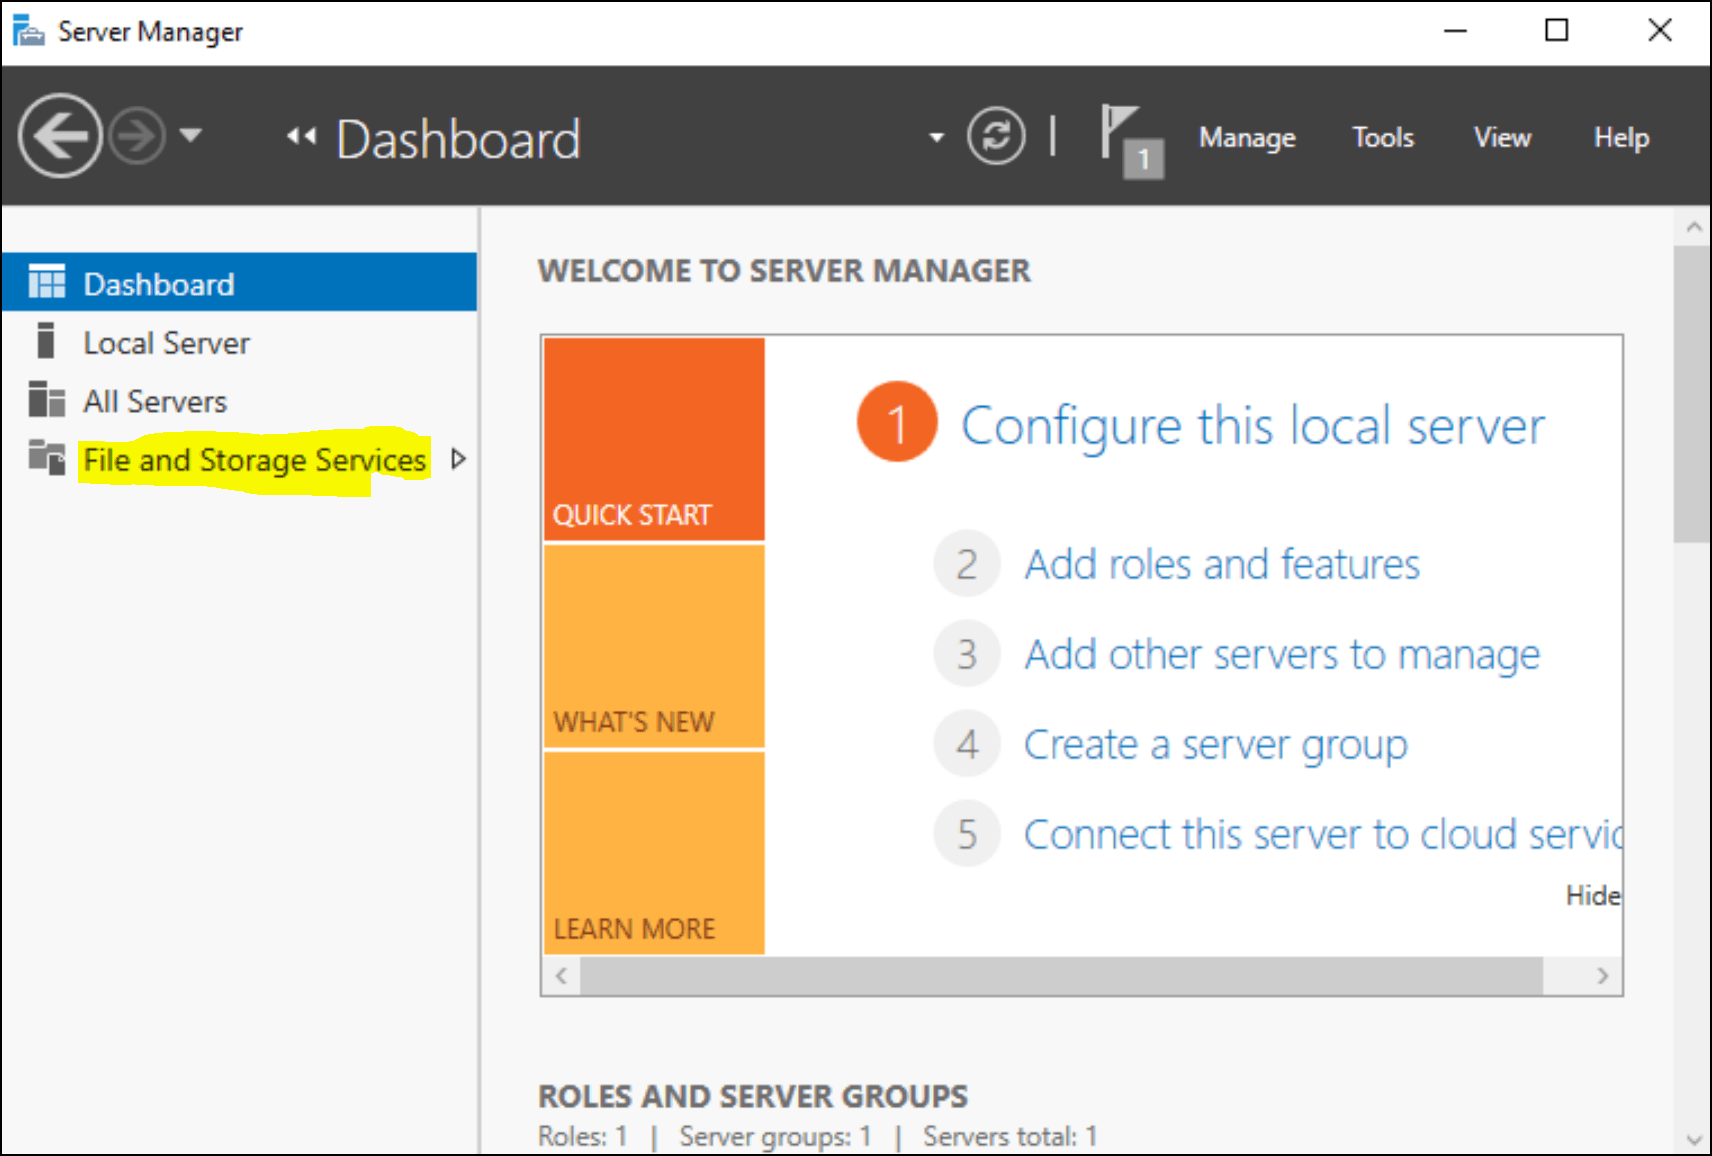
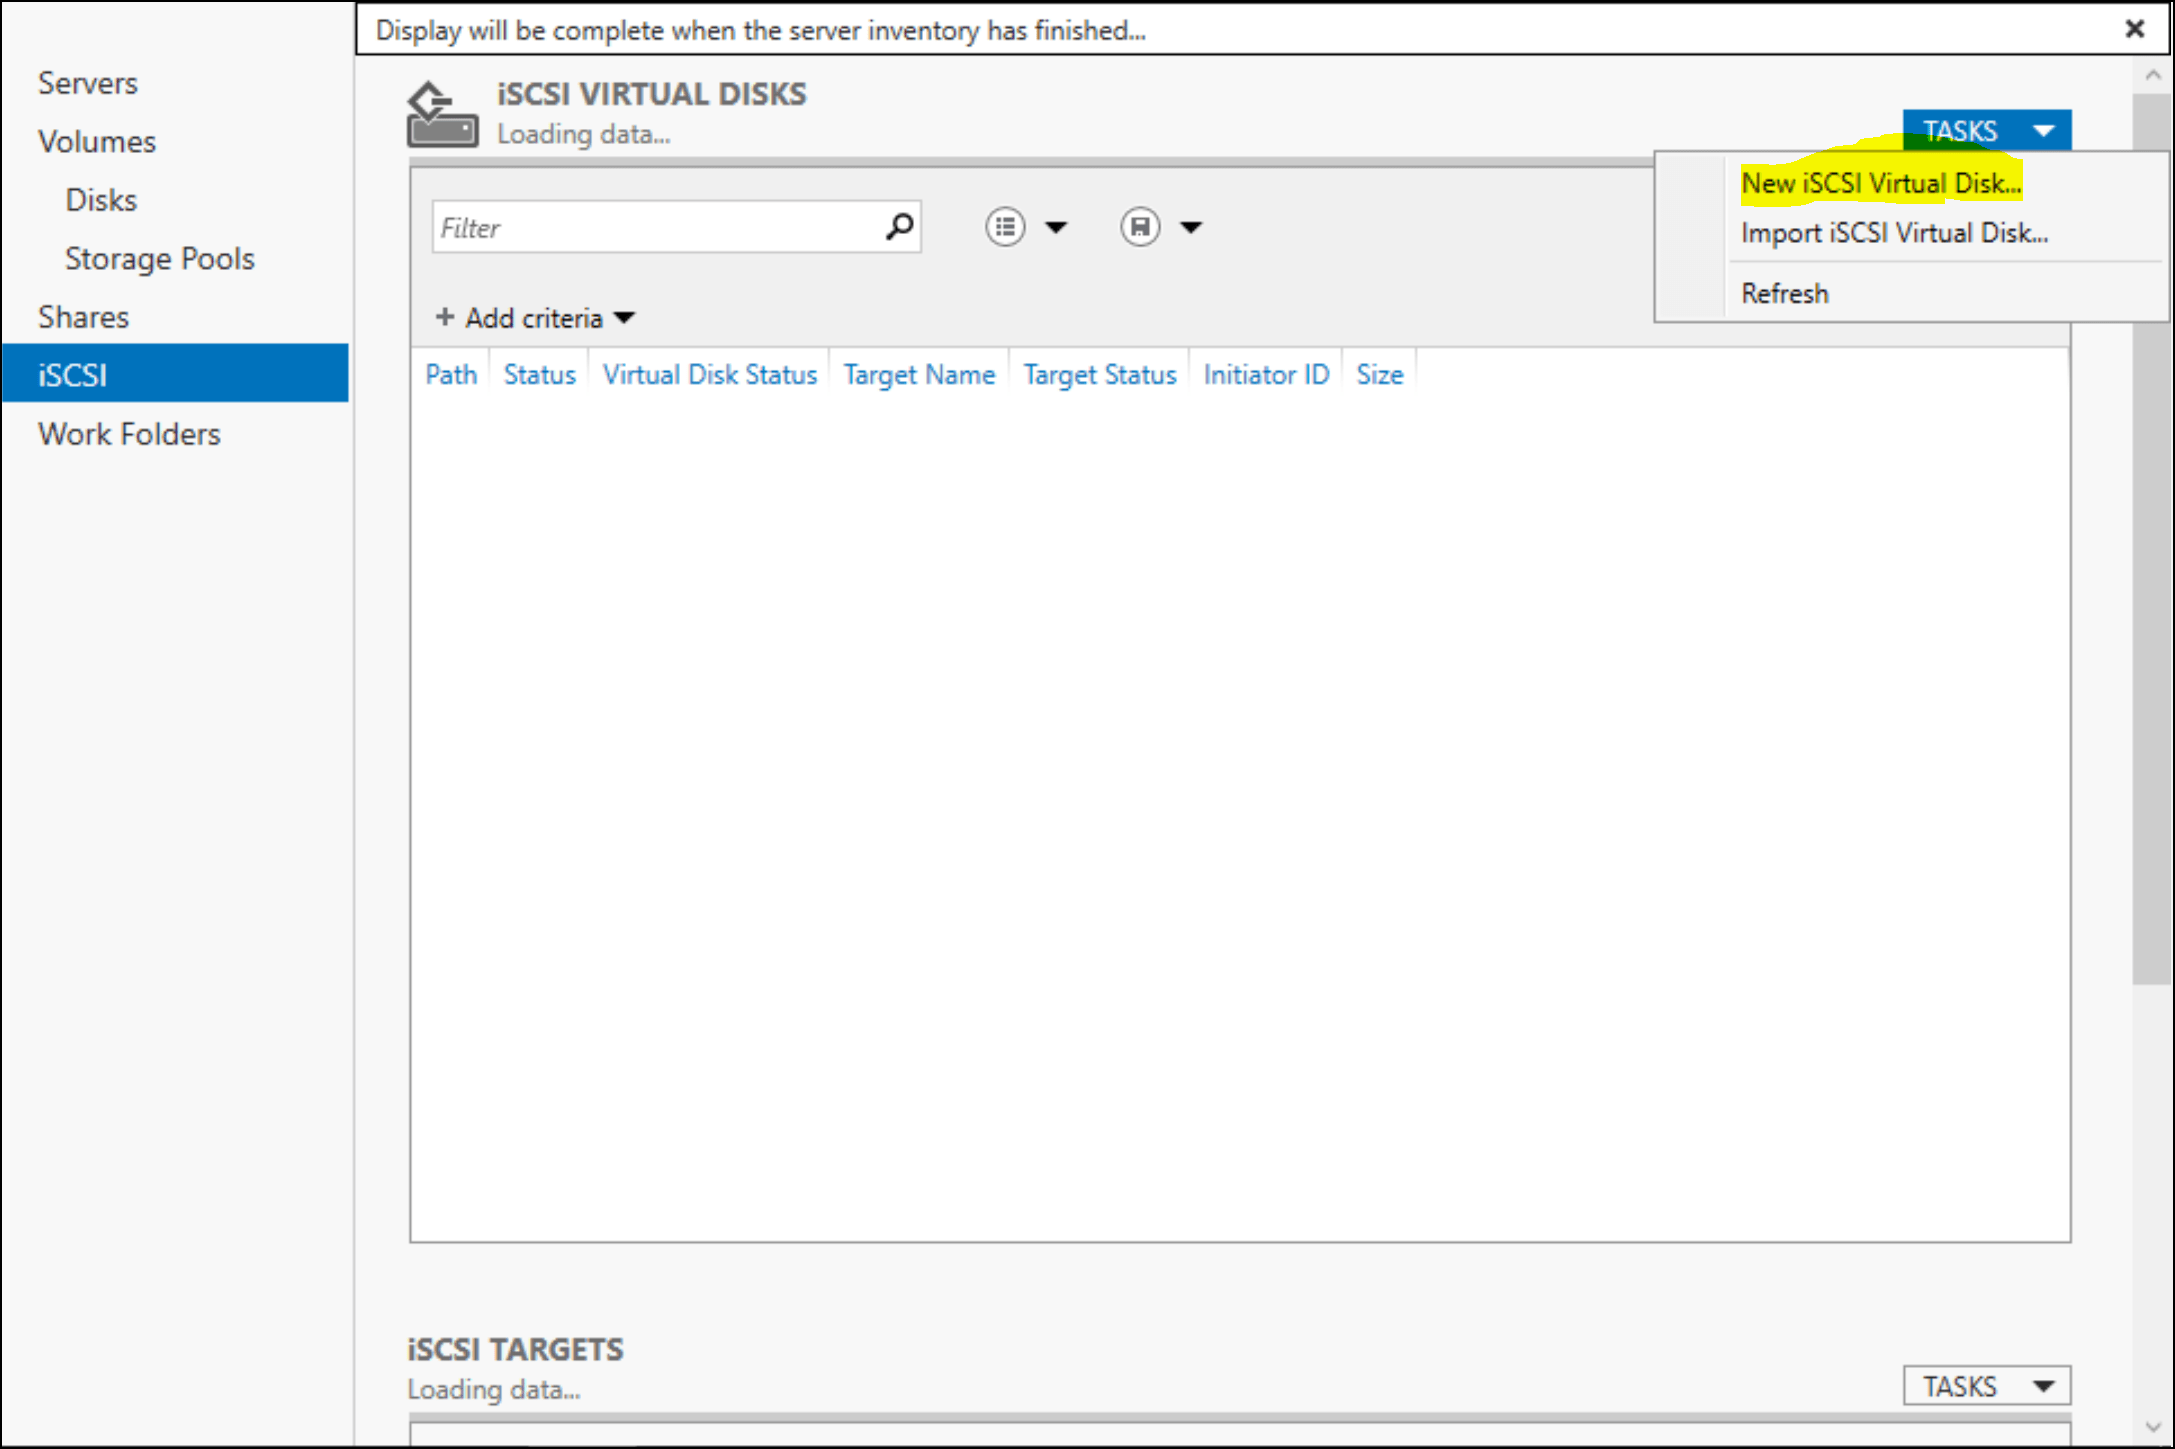
We need to configure the iSCSI target server now. For this purpose, in the server manager, click on the File and Storage Services.
Go to the iSCSI Services and if you find link then click on that other wise go to TASKS on right side.
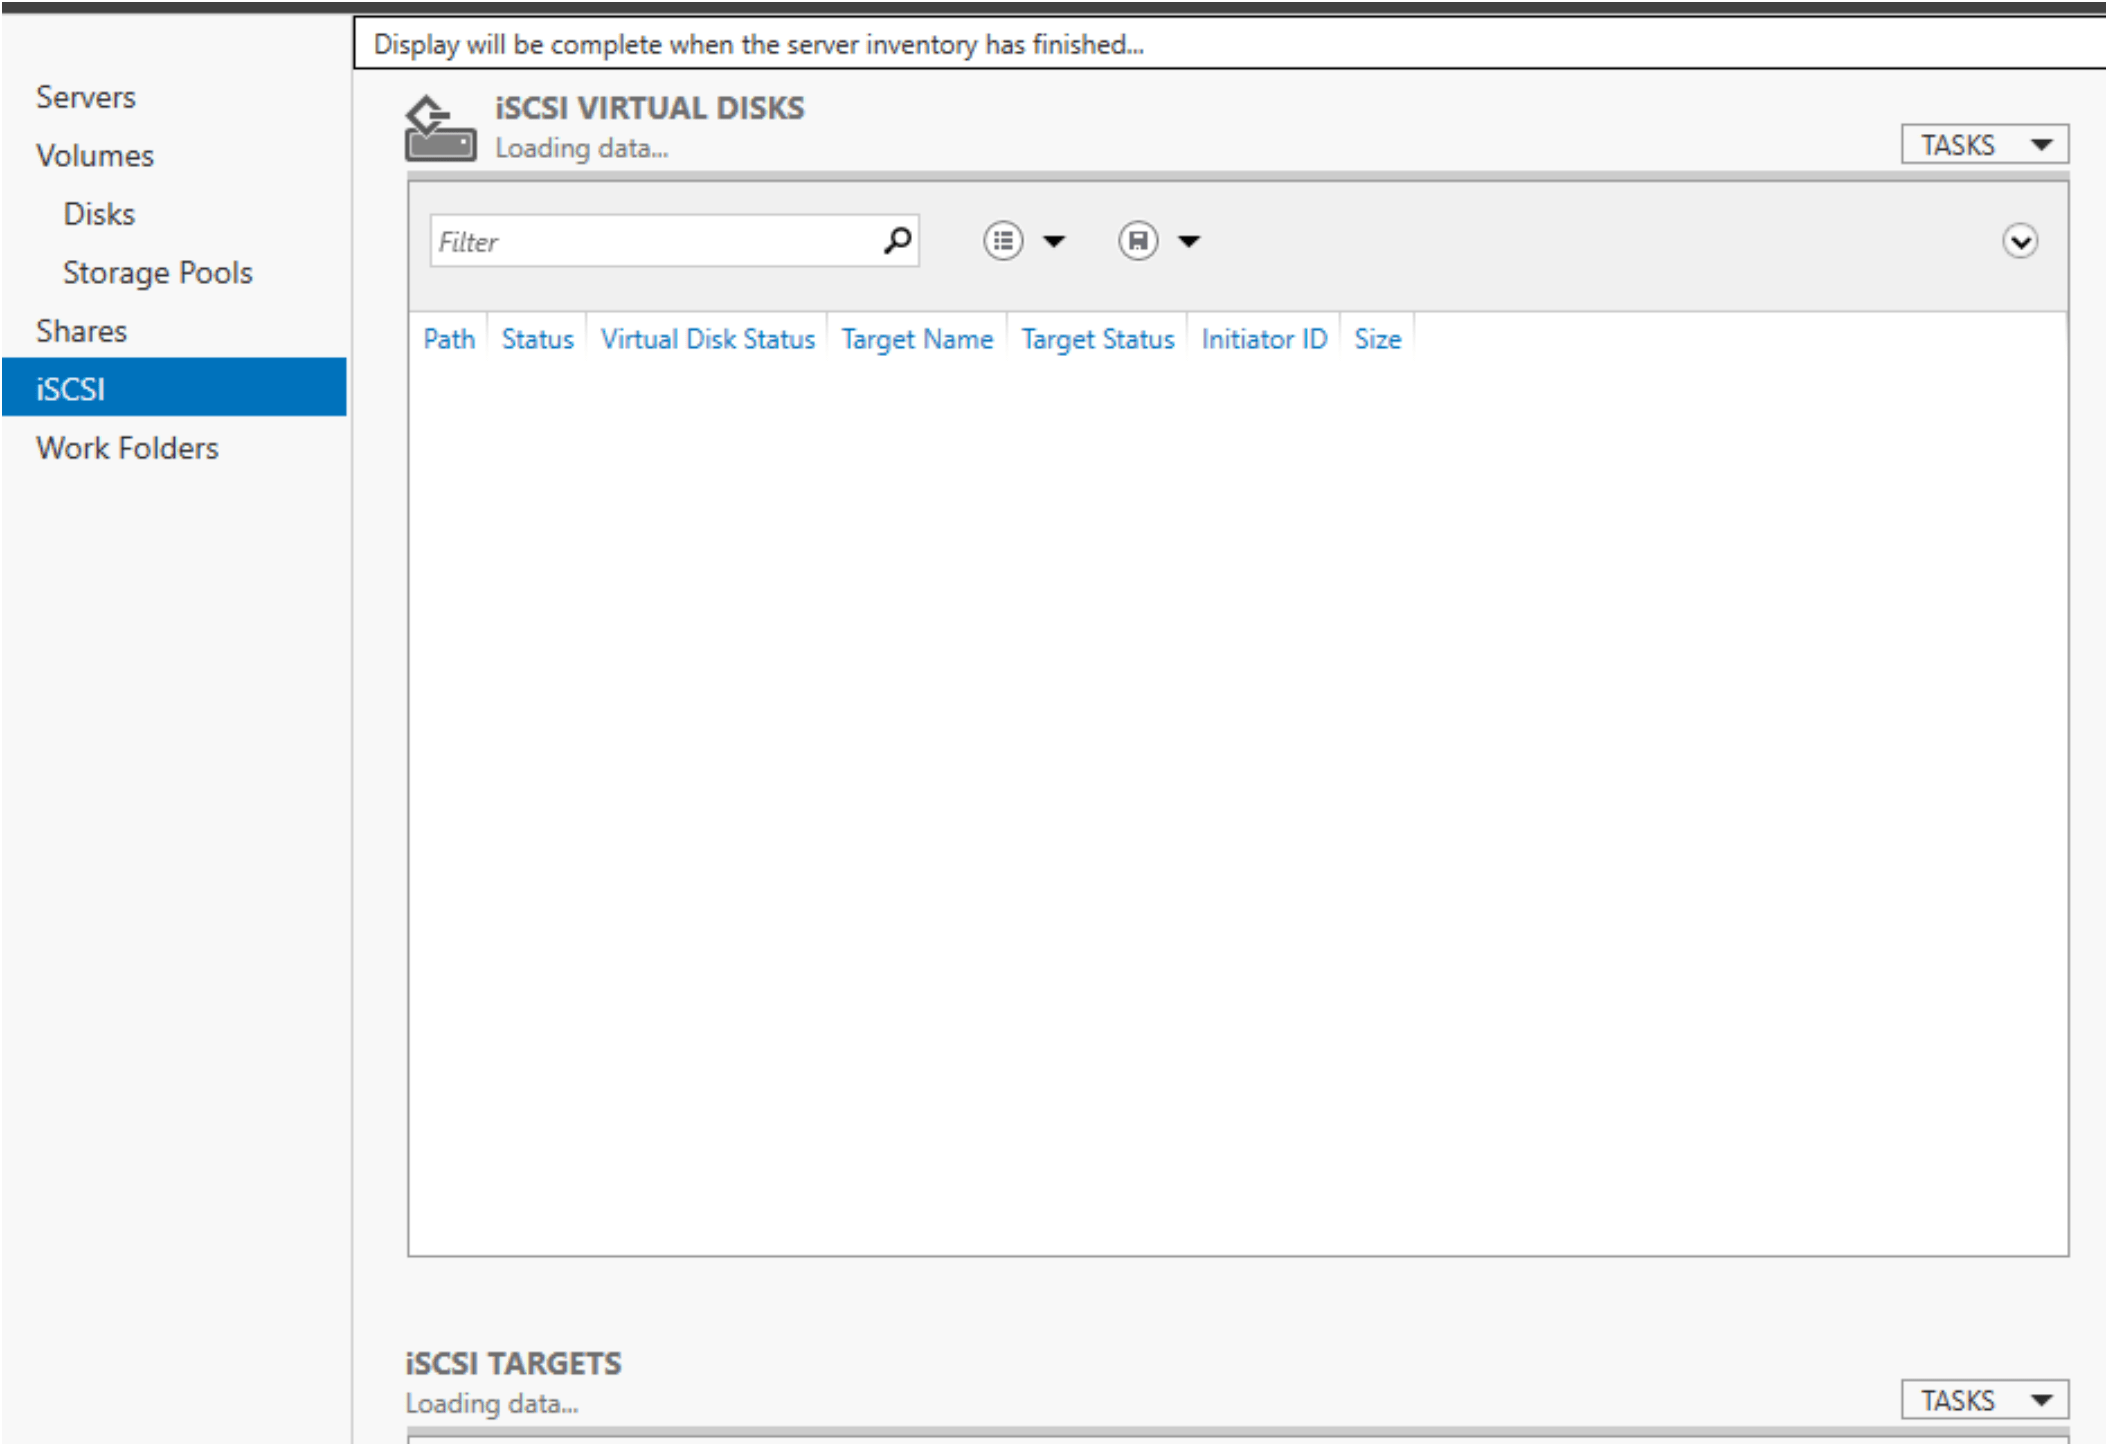
Click on creating New ISCSI Virtual Disk
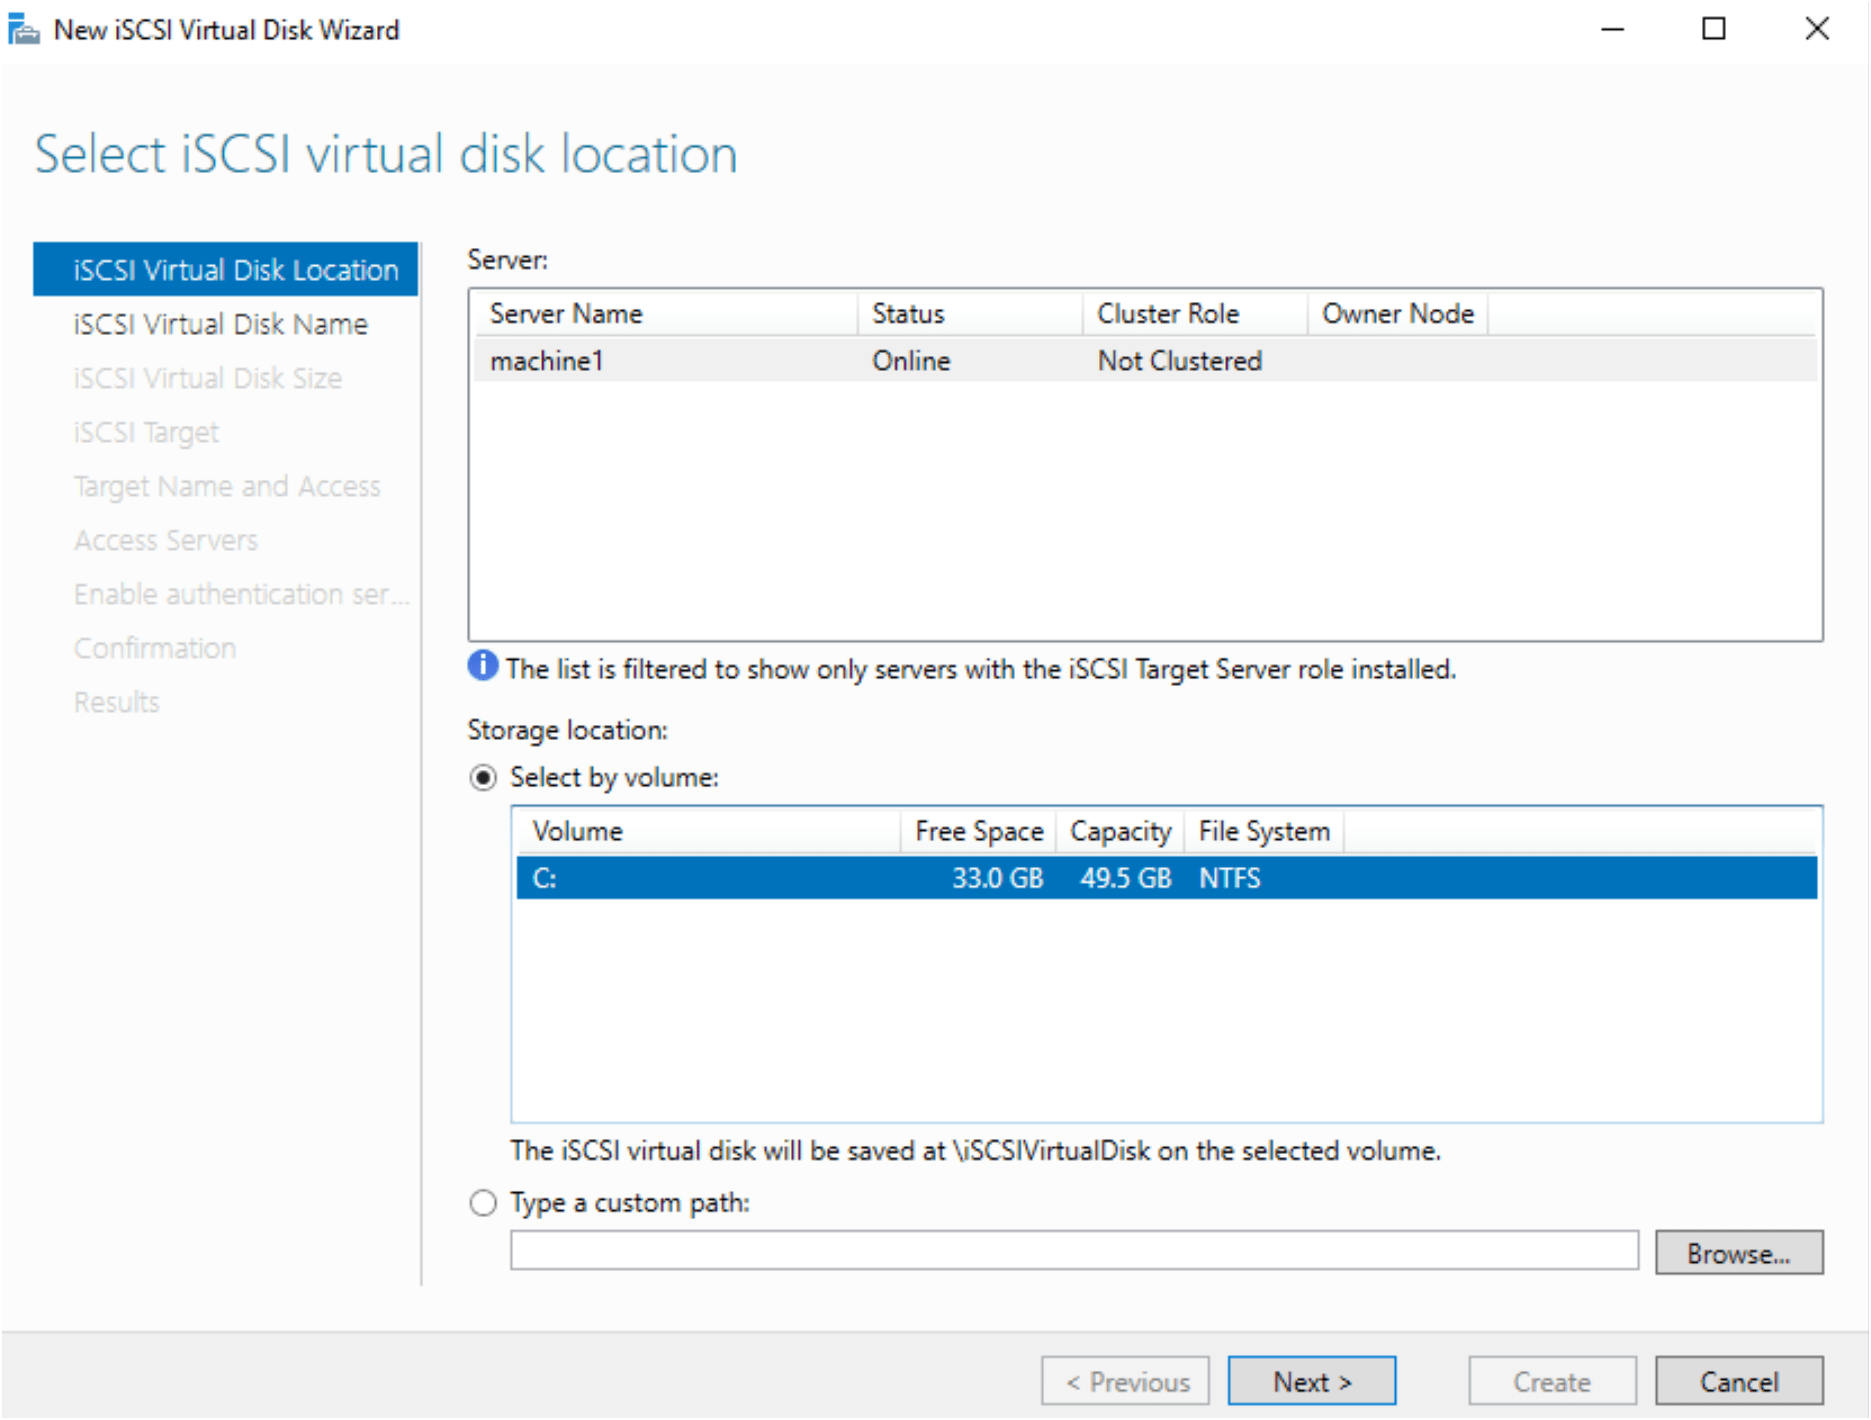
Select the iSCSI virtual disk location. We are using VM. So, we have only C drive to choose.
Specify the iSCSI Virtual disk name on the Name text box.

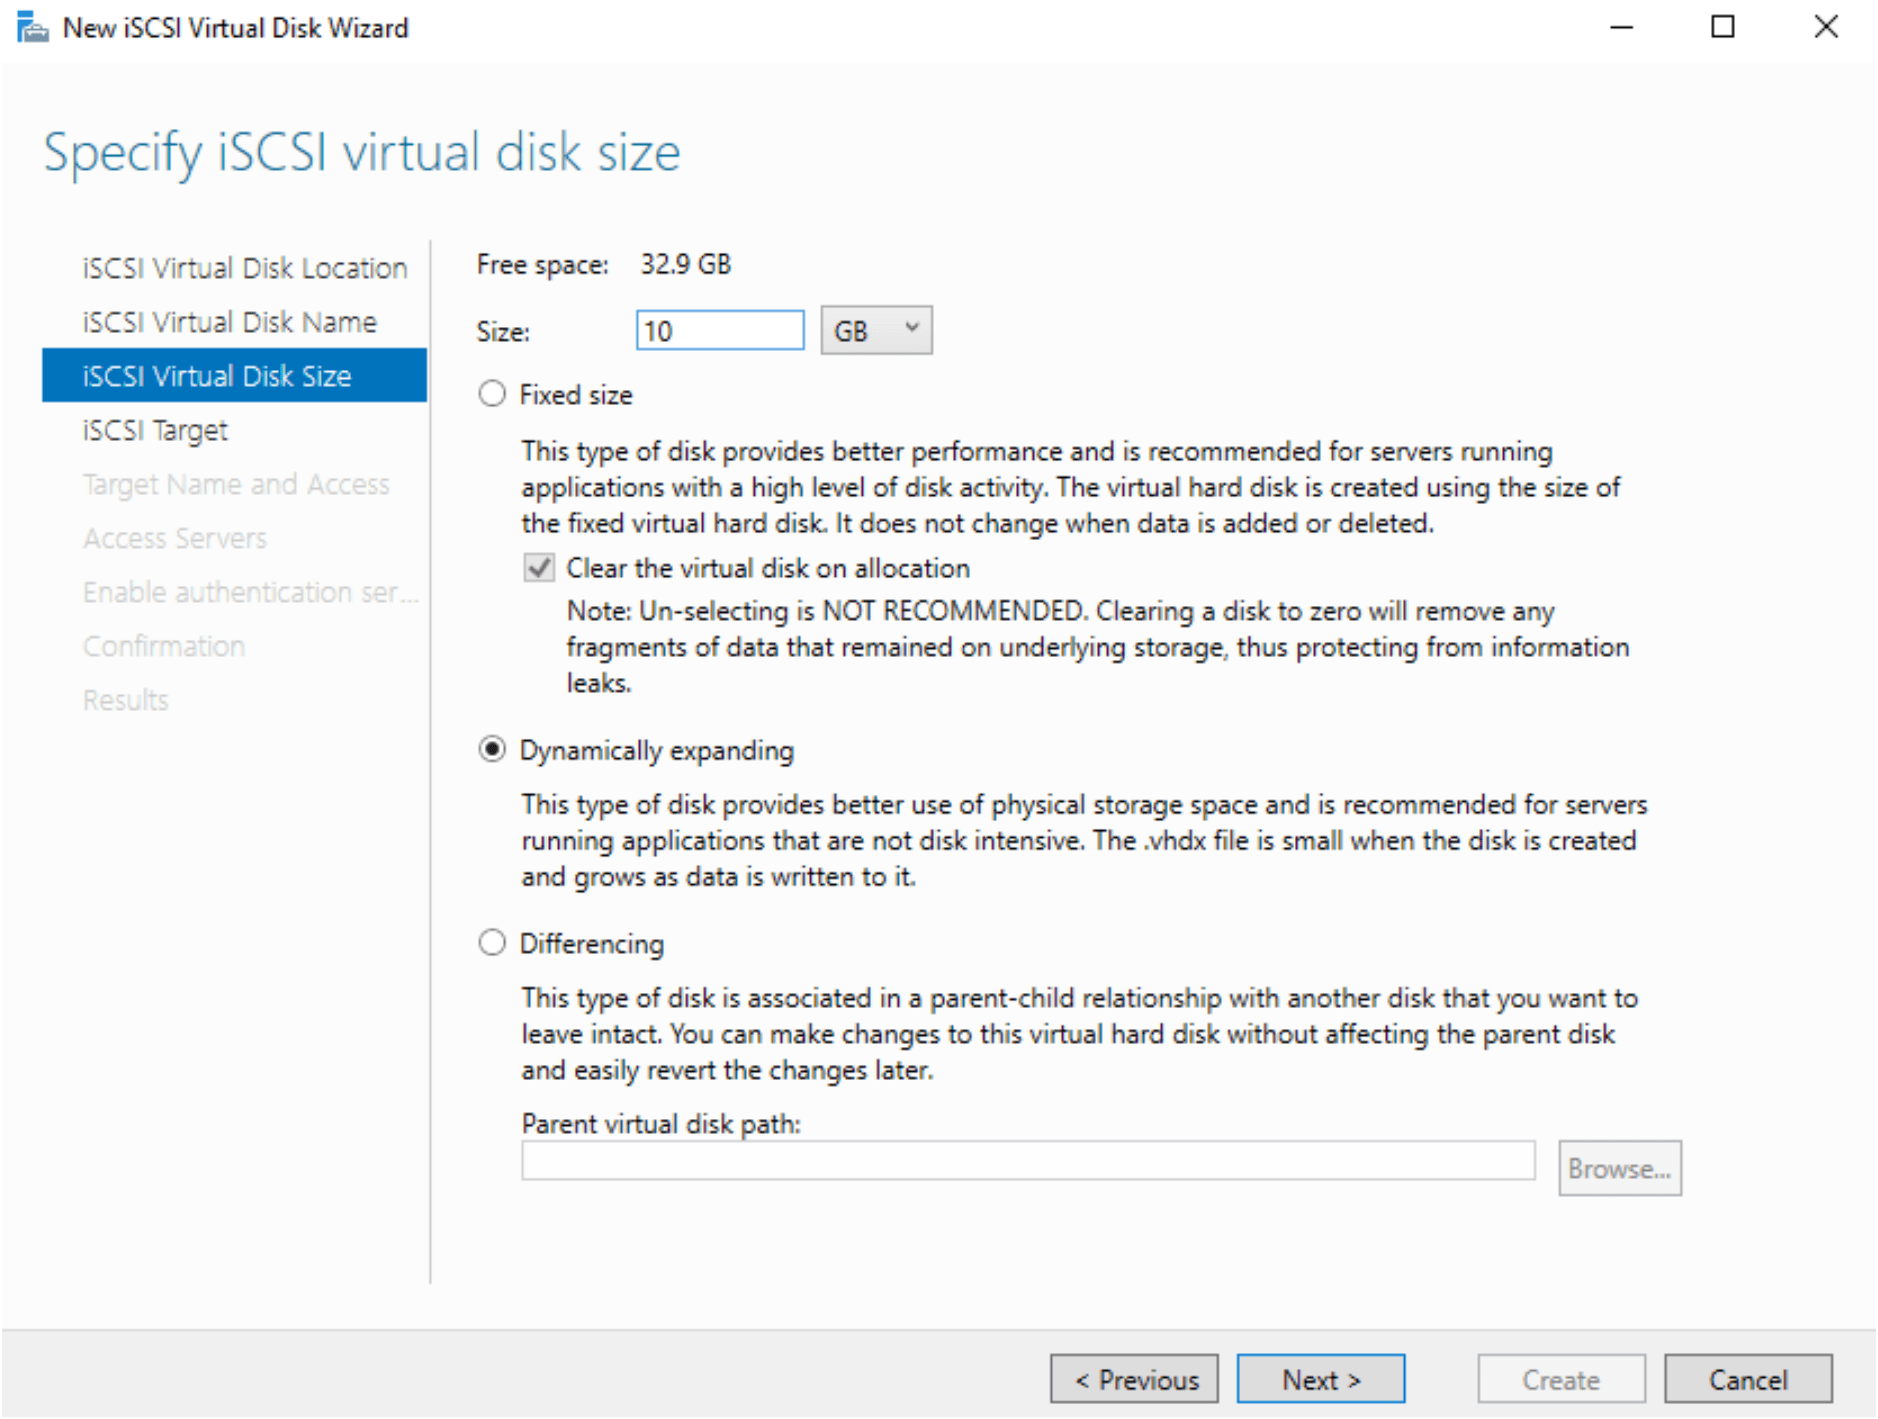
Specify iSCSI virtual disk size as you needed.
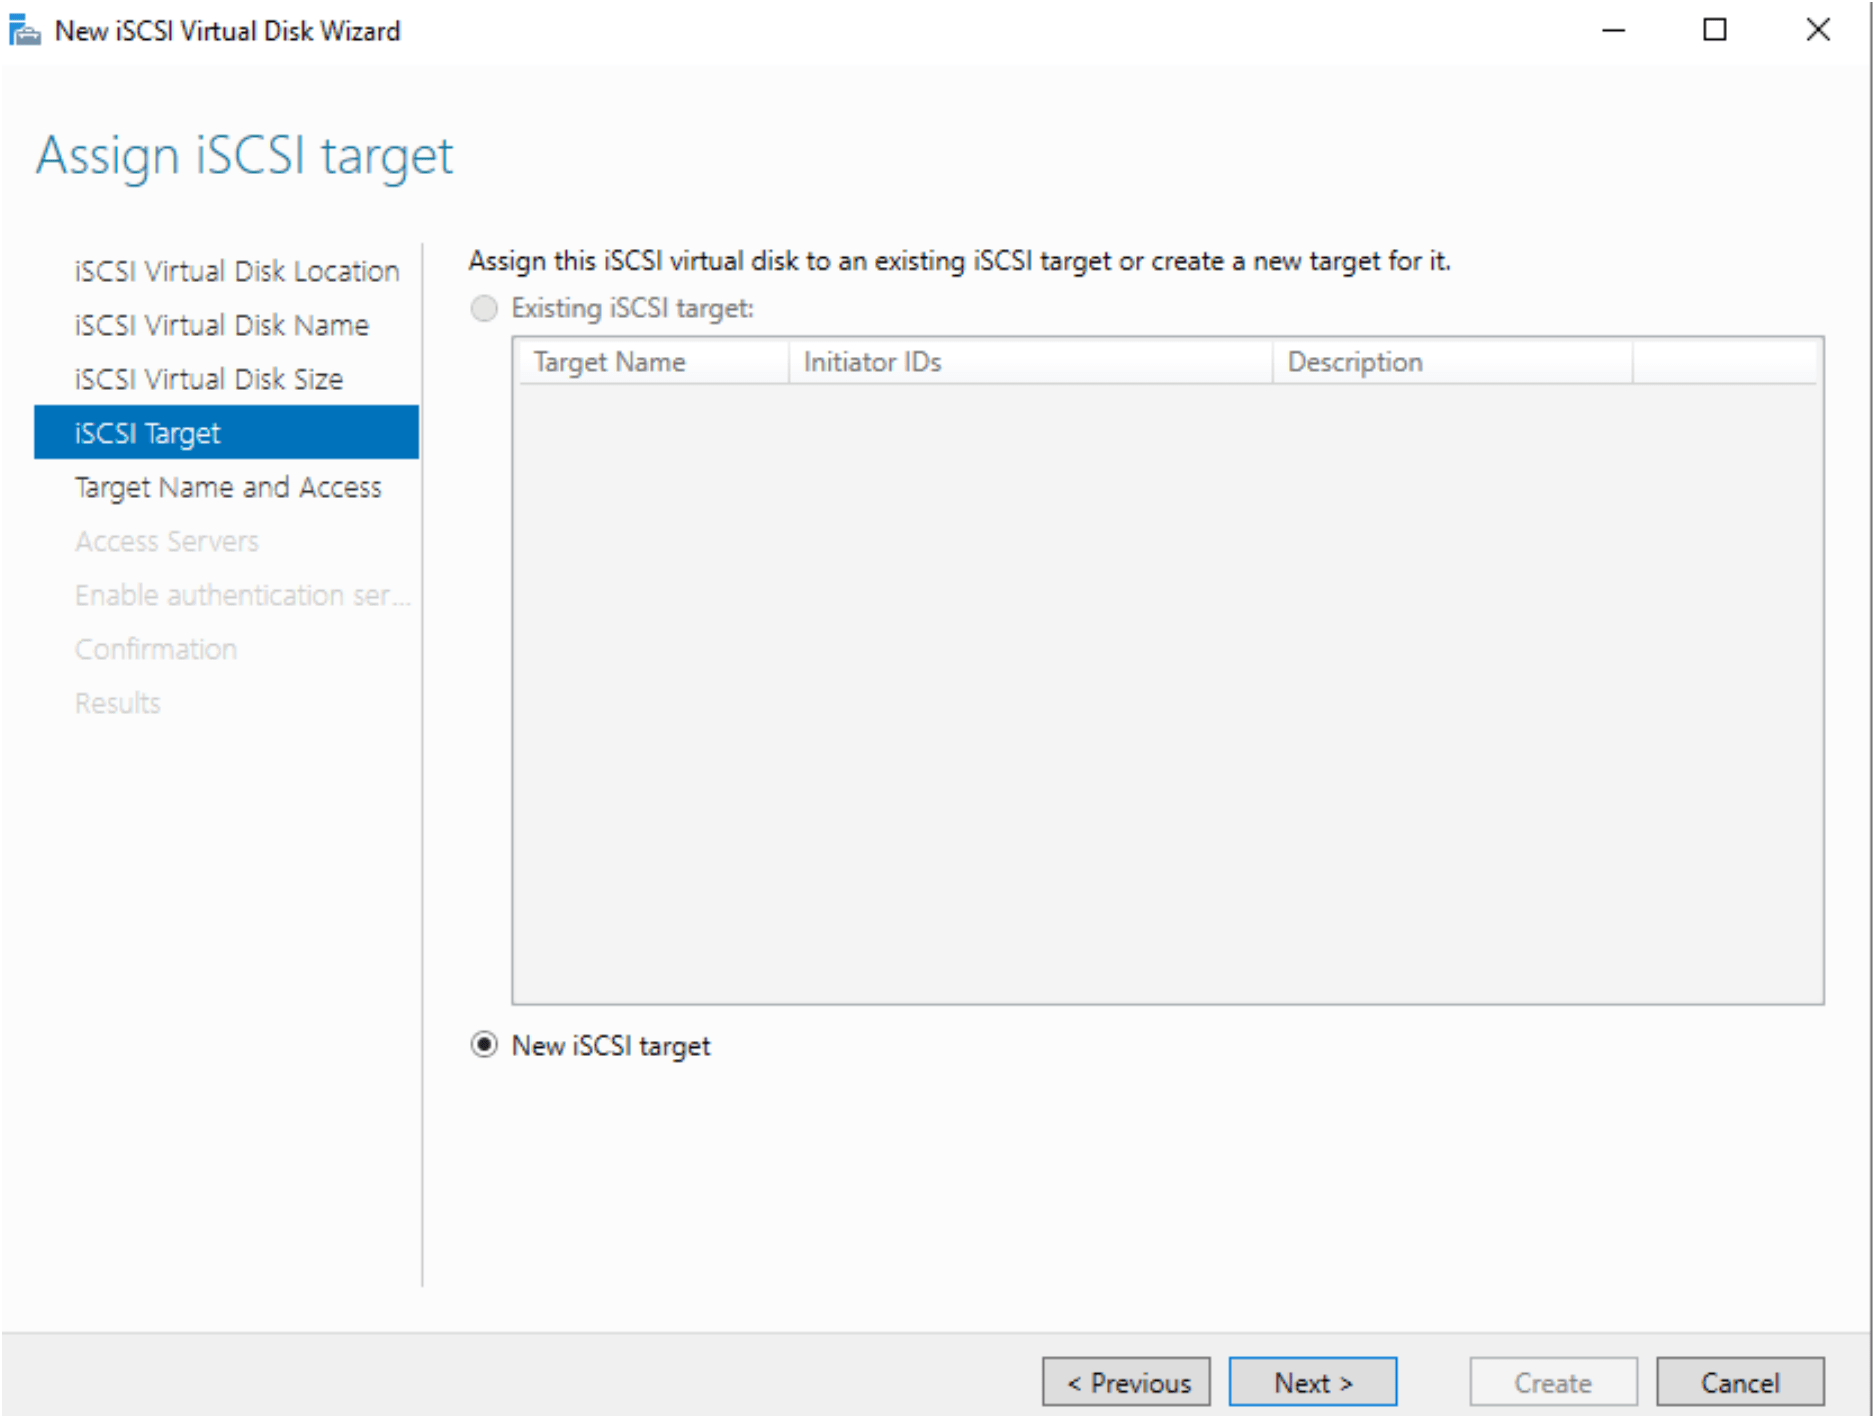
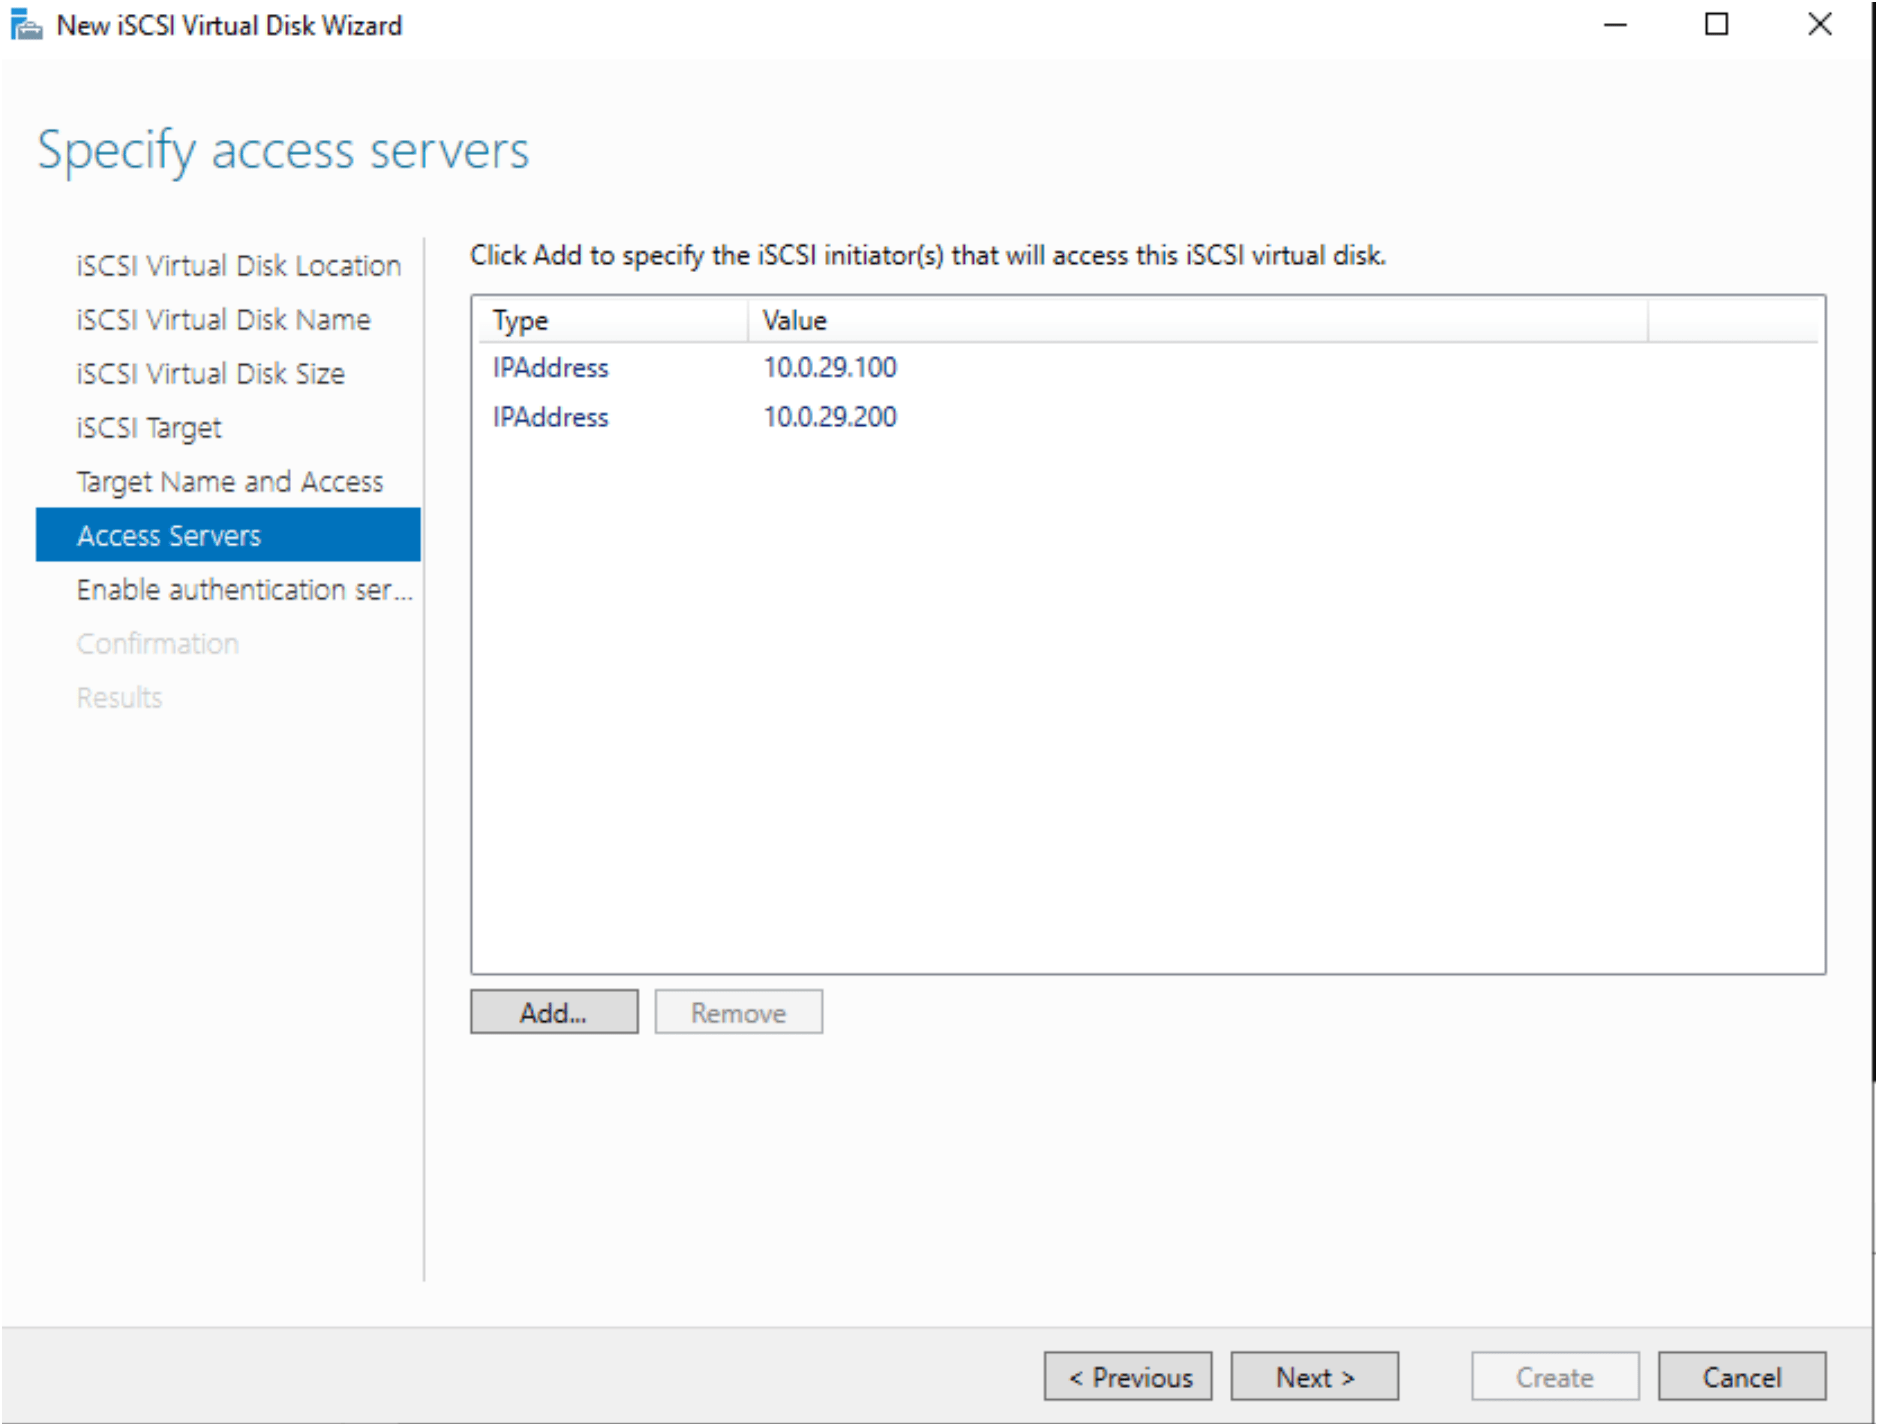
Assign iSCSI target machines, you can specify the iSCSI target machine which machines access the drive.
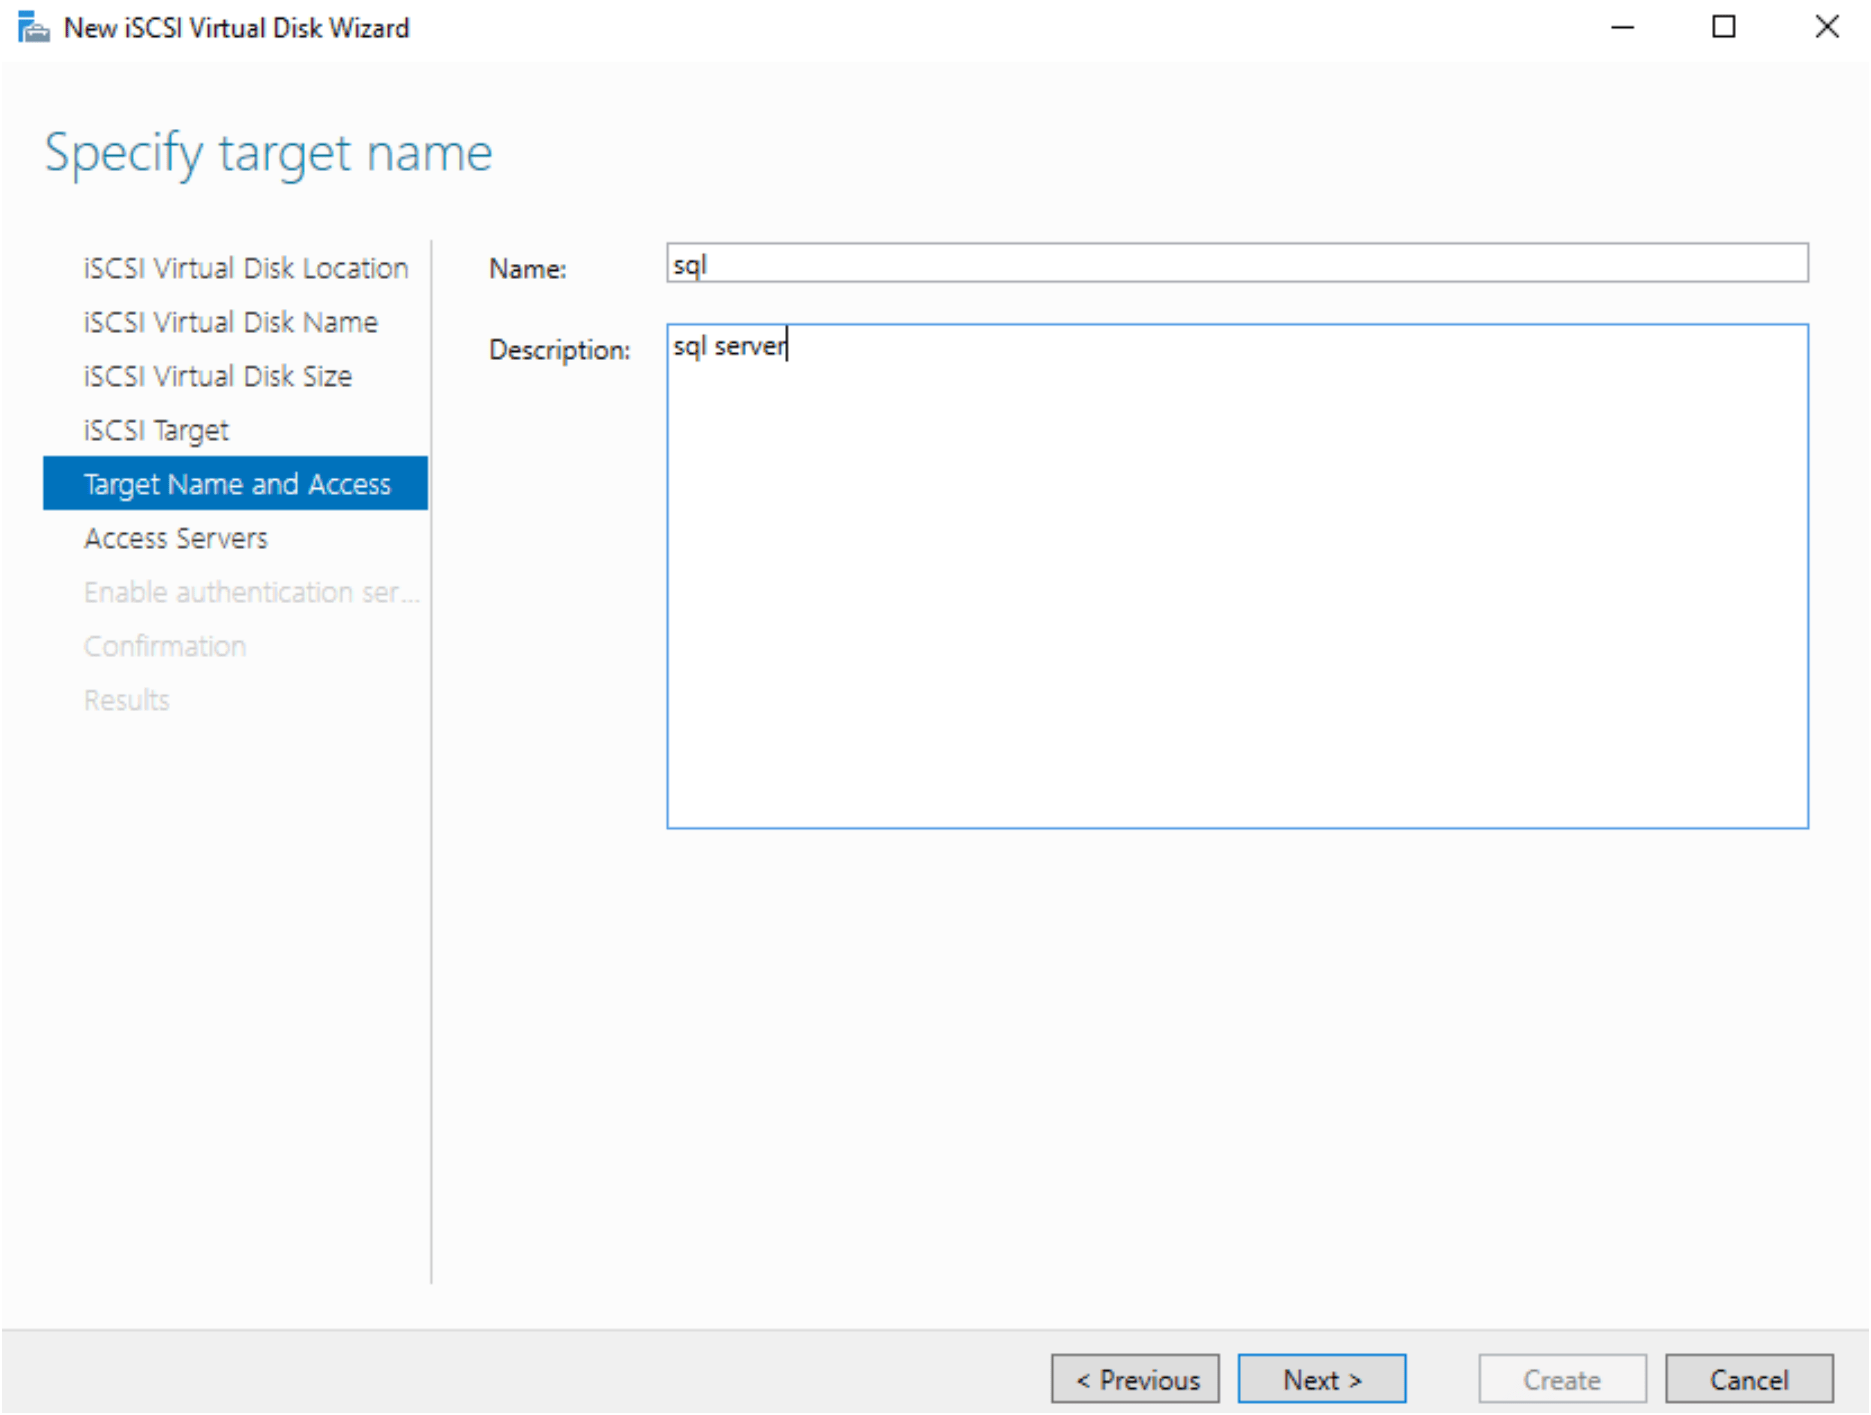
Give a name as target to iSCSI for access.
Add the both IPaddress from ADD button and choose the ipaddress in drop down window for add.
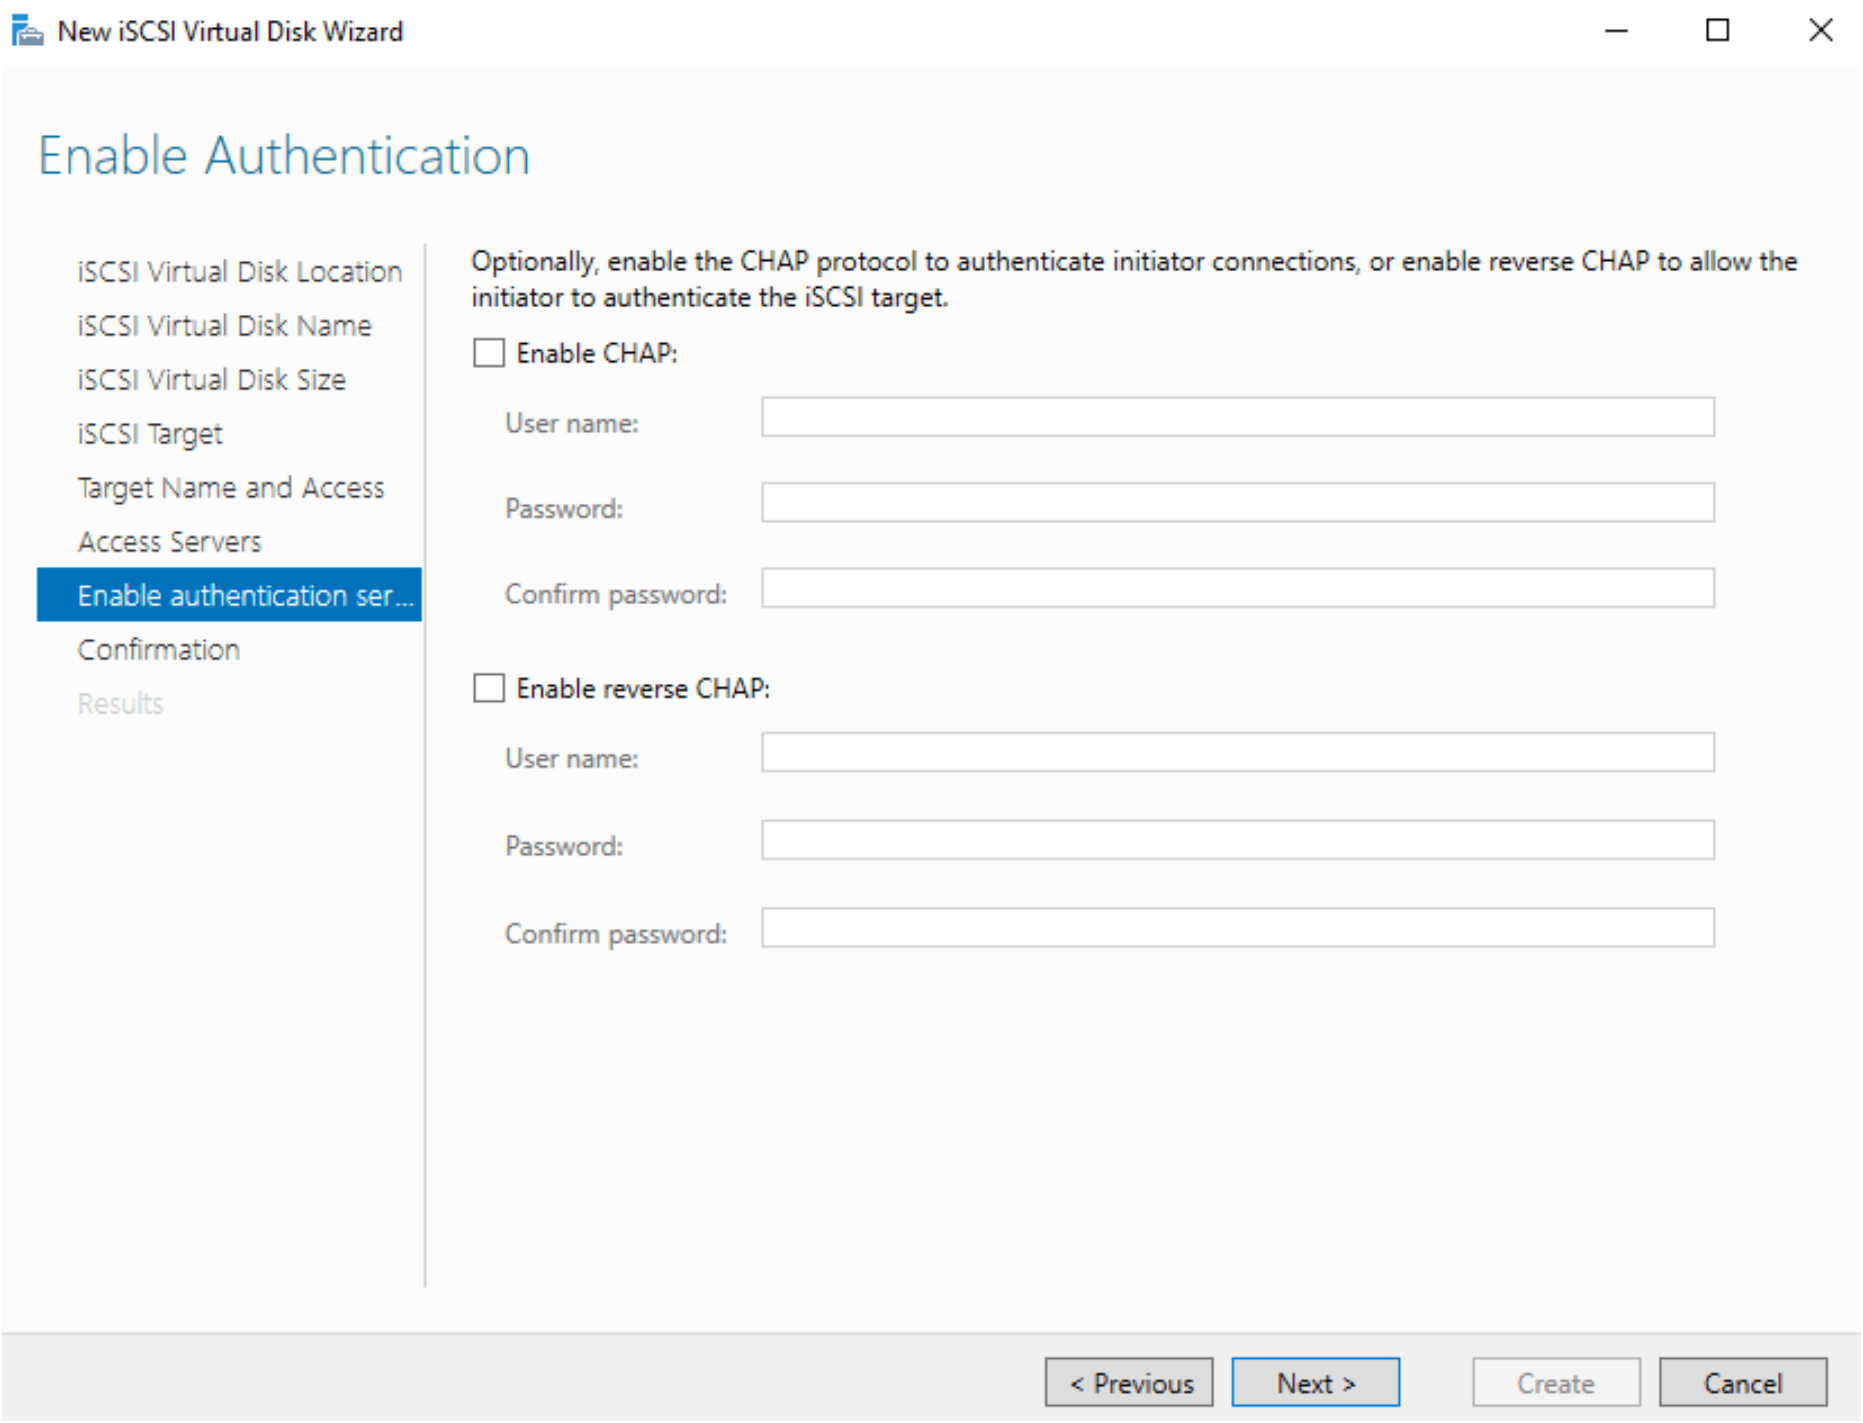
Skip this enable authentication steps and simple press next.
Check the confirm selections page.

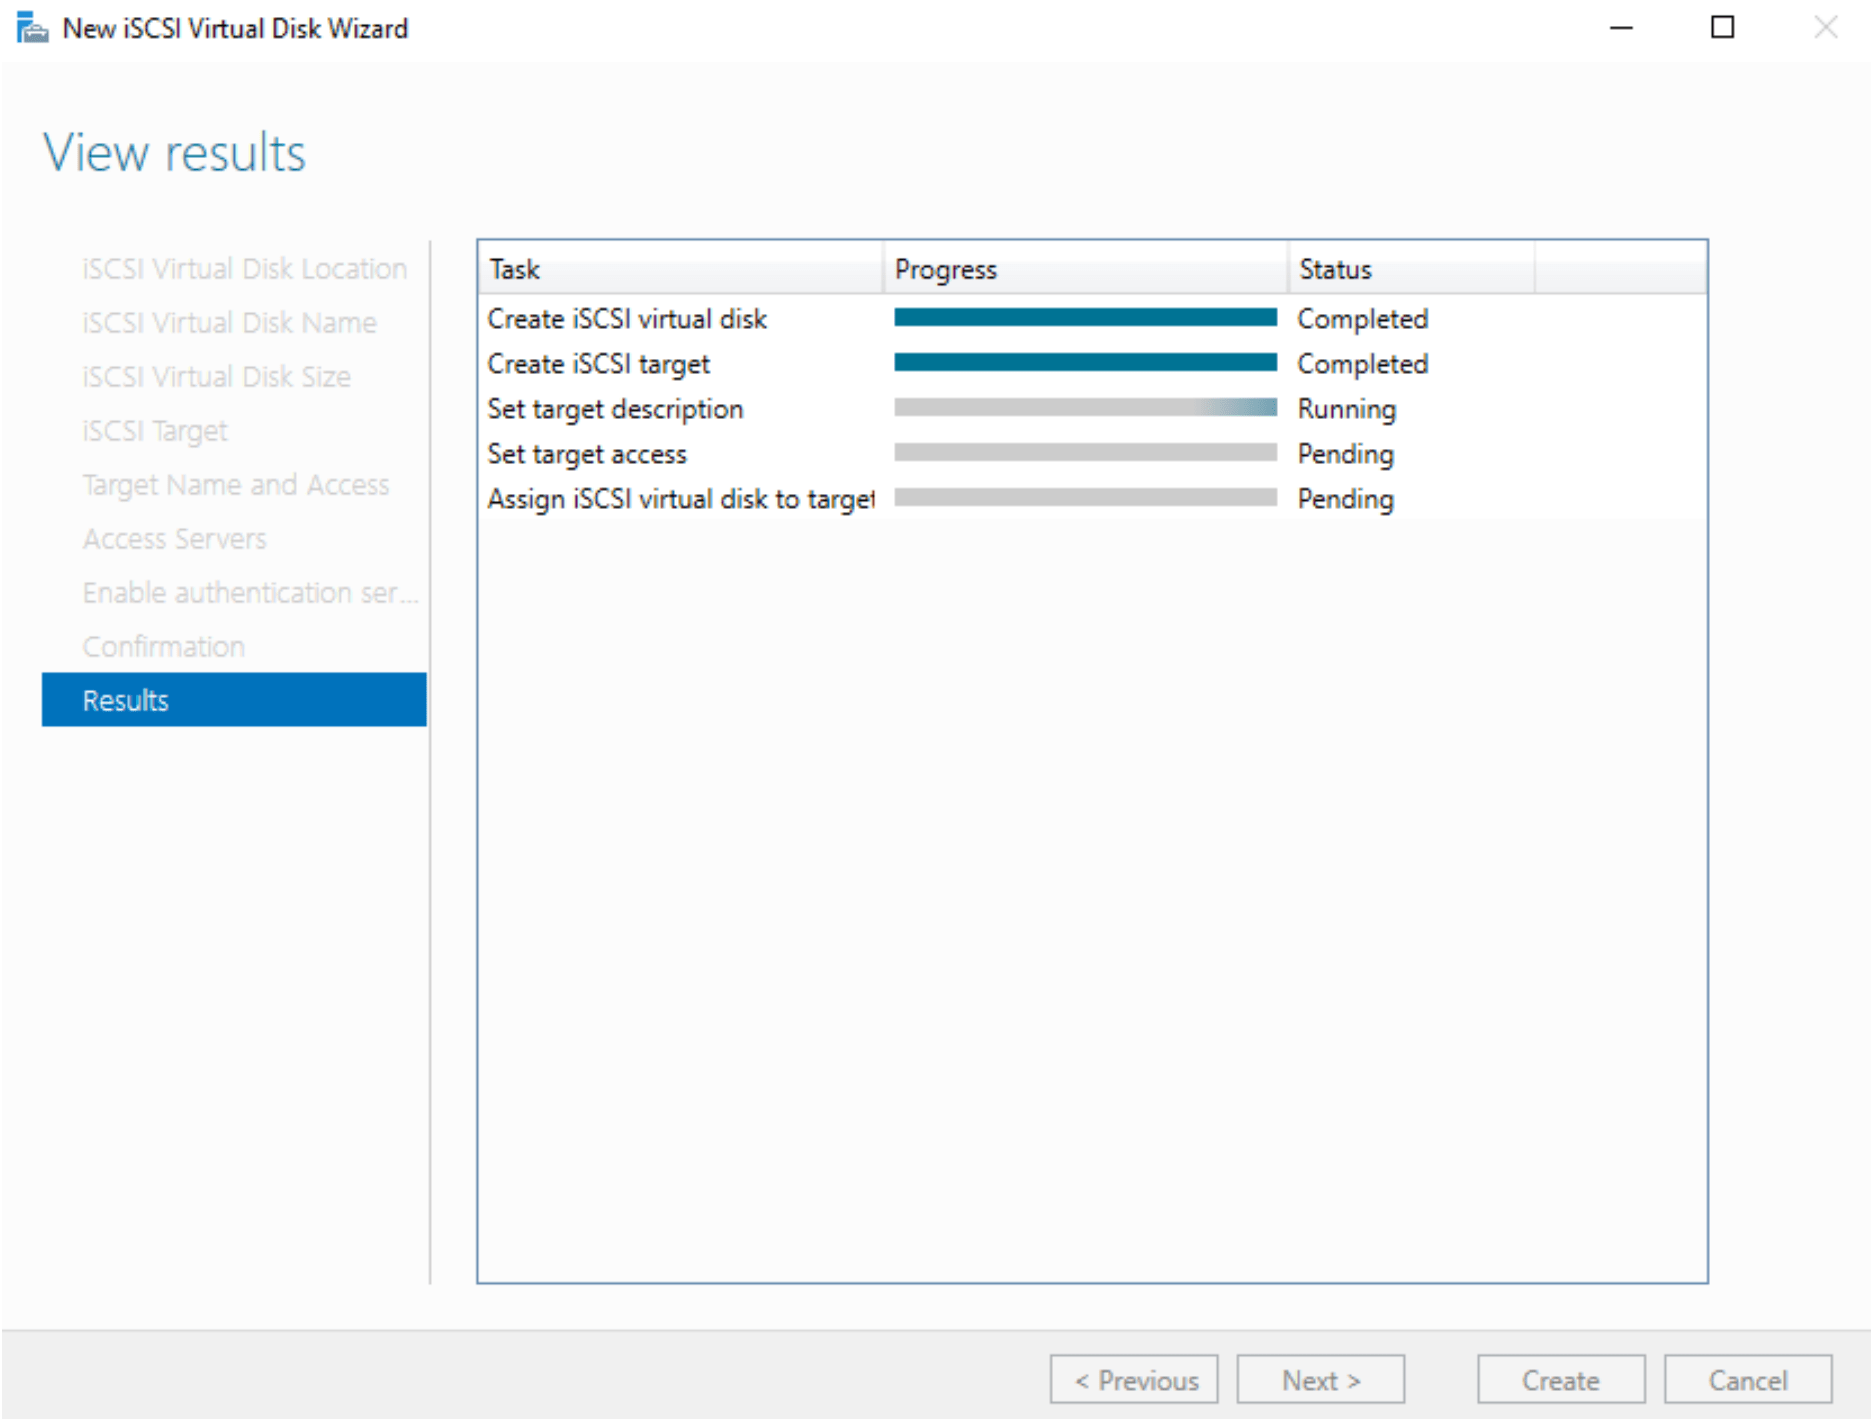
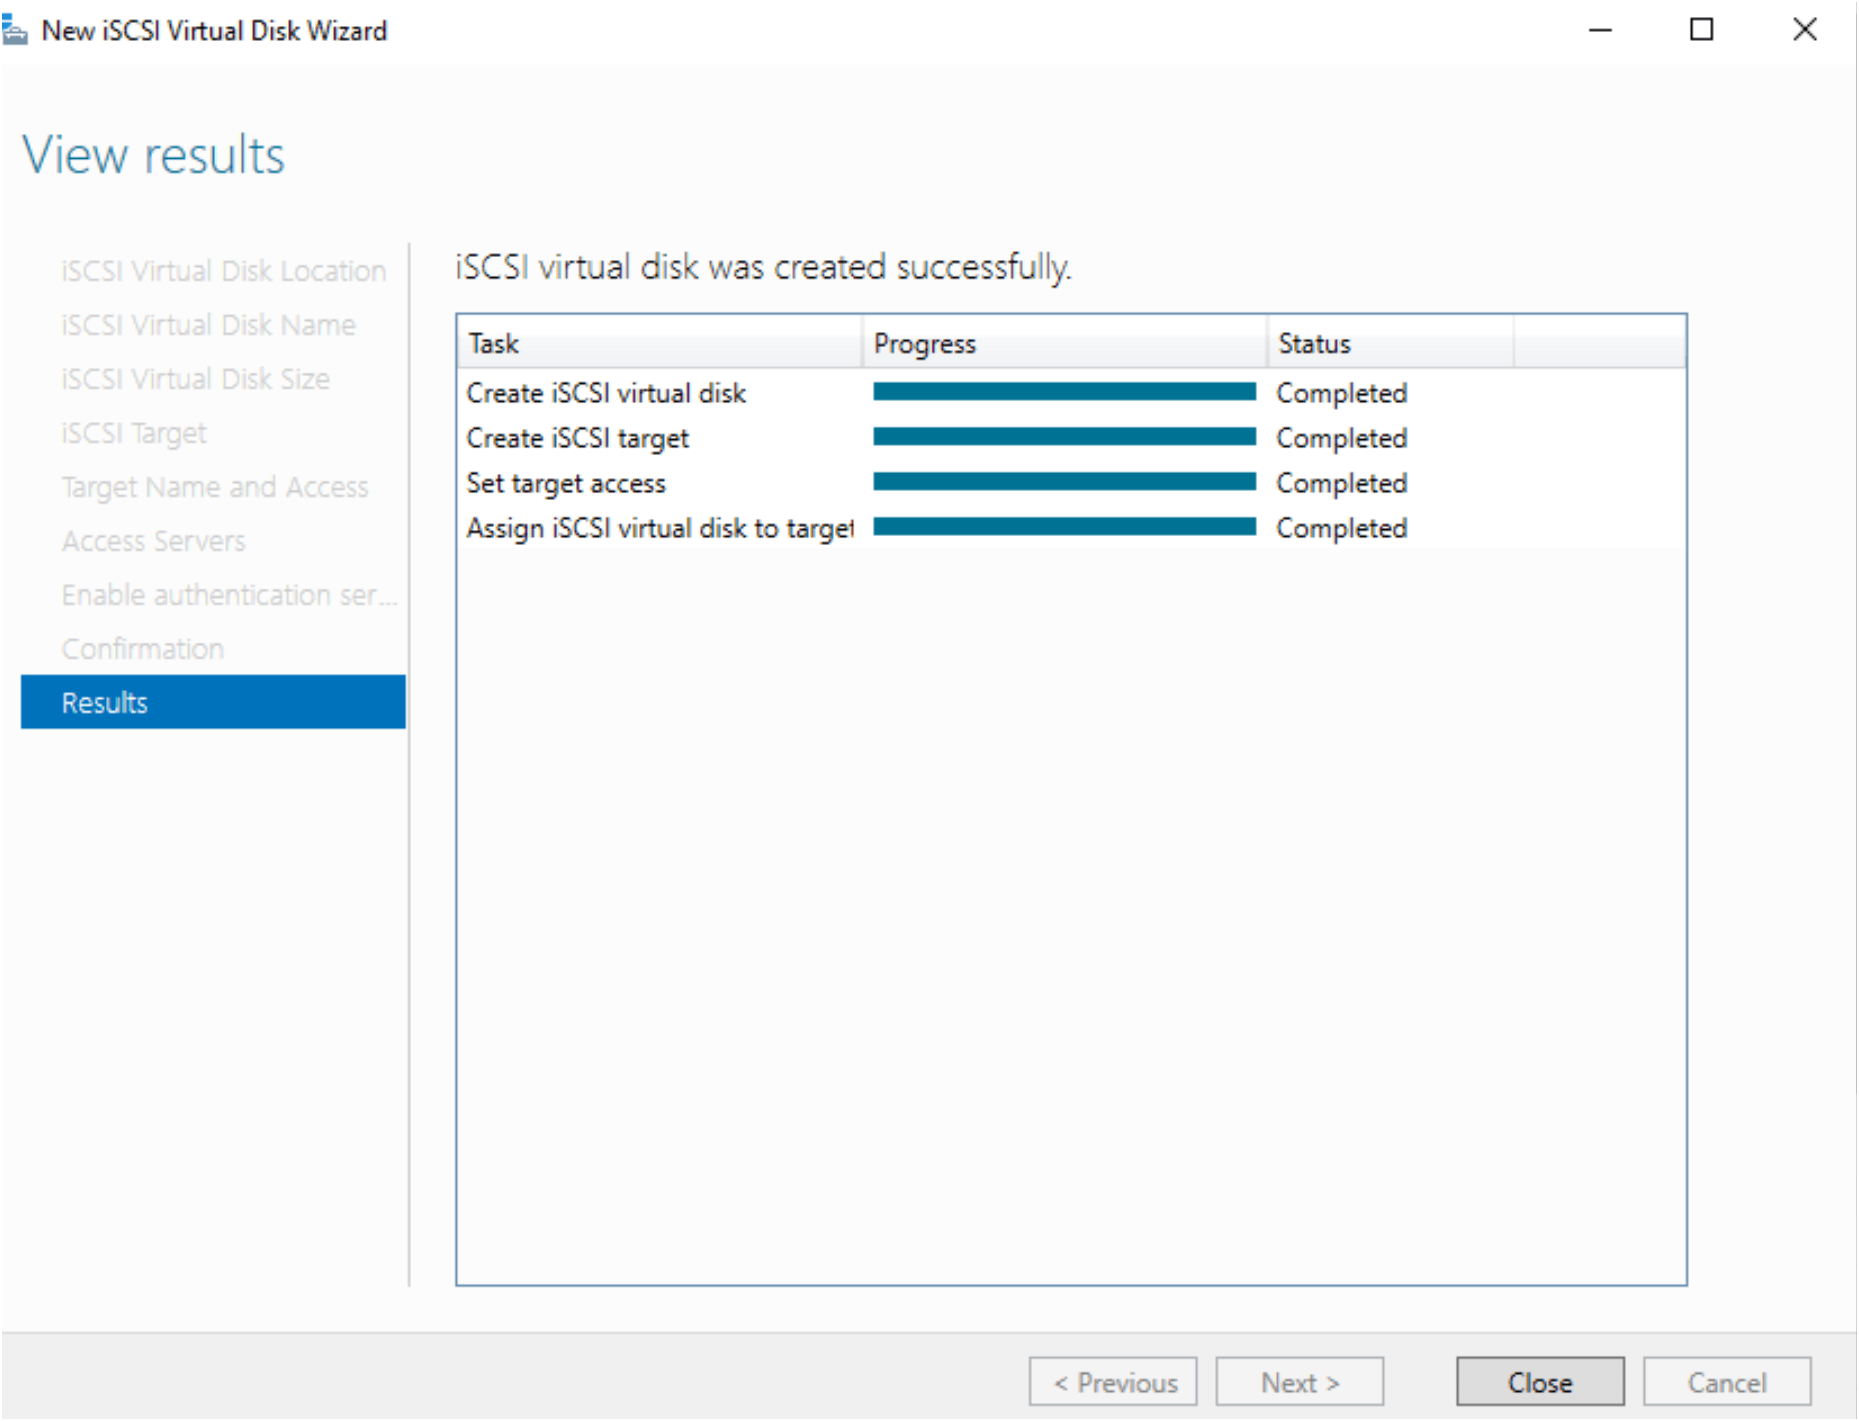
Process of setup the iSCSI Virtual Disk is started.
Once completed, go to the machines for initialize the disk on that machine for Window cluster.
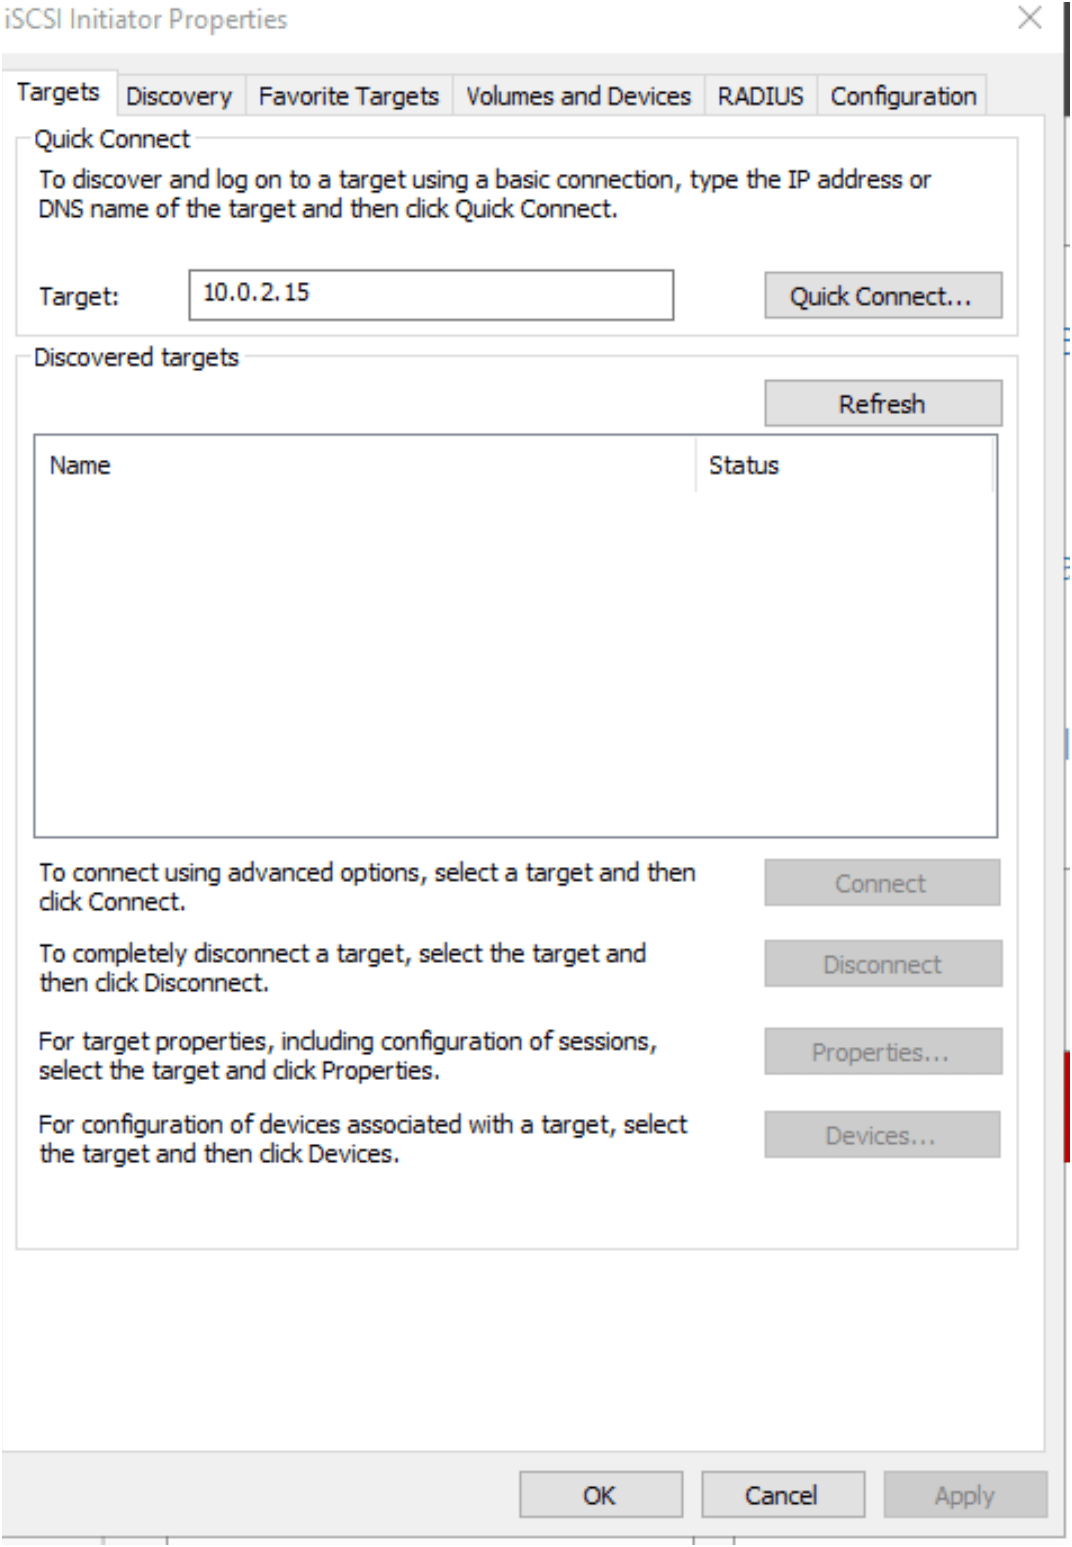
Configure the iSCSI initiator for access the iSCSI virtual disk.
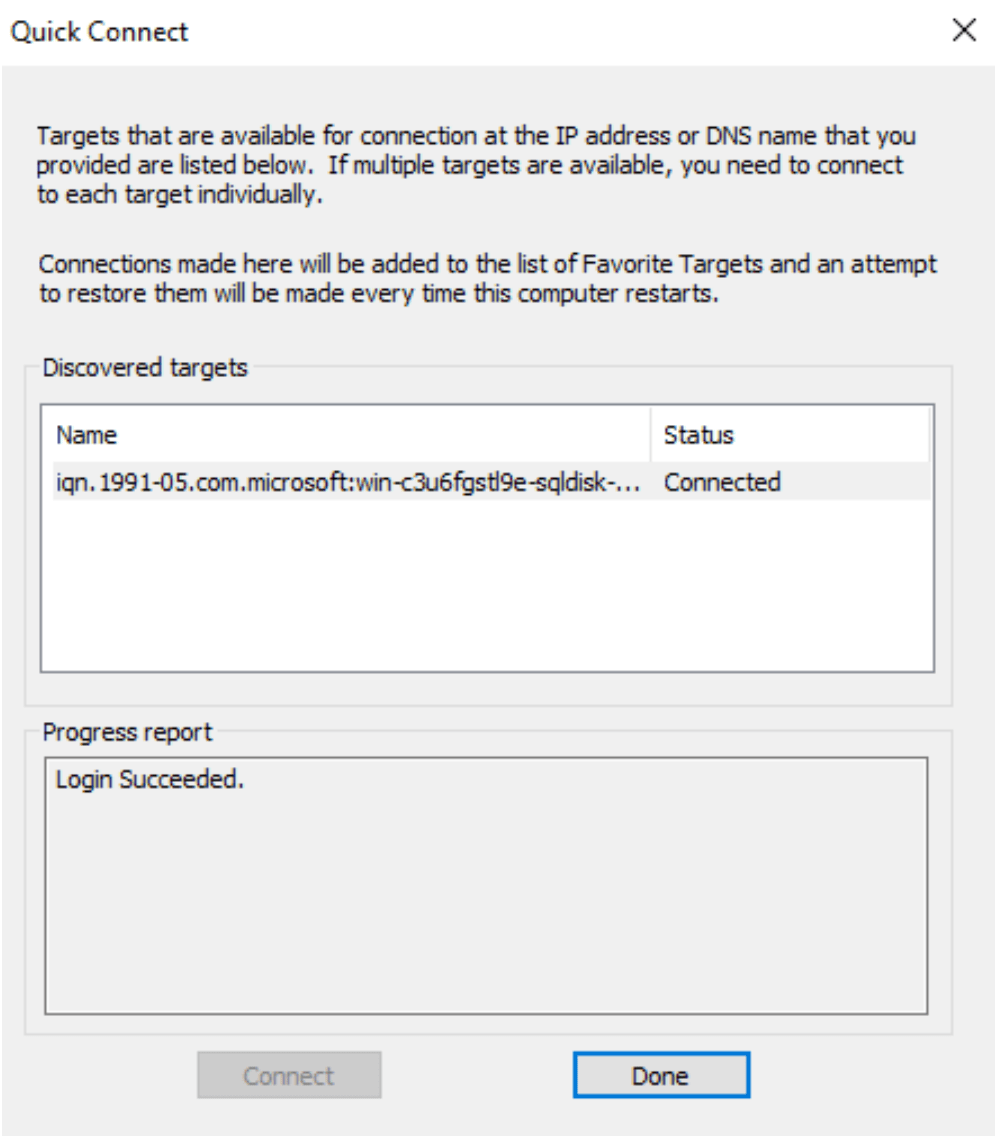
Go to the Machine1, open iSCSI initiator from Server Manager. Put the iSCSI target address and press Quick connect button.
It ask for login password for domain user and its show you as its connected.
Once done, got to computer management window –> go to disk Management.
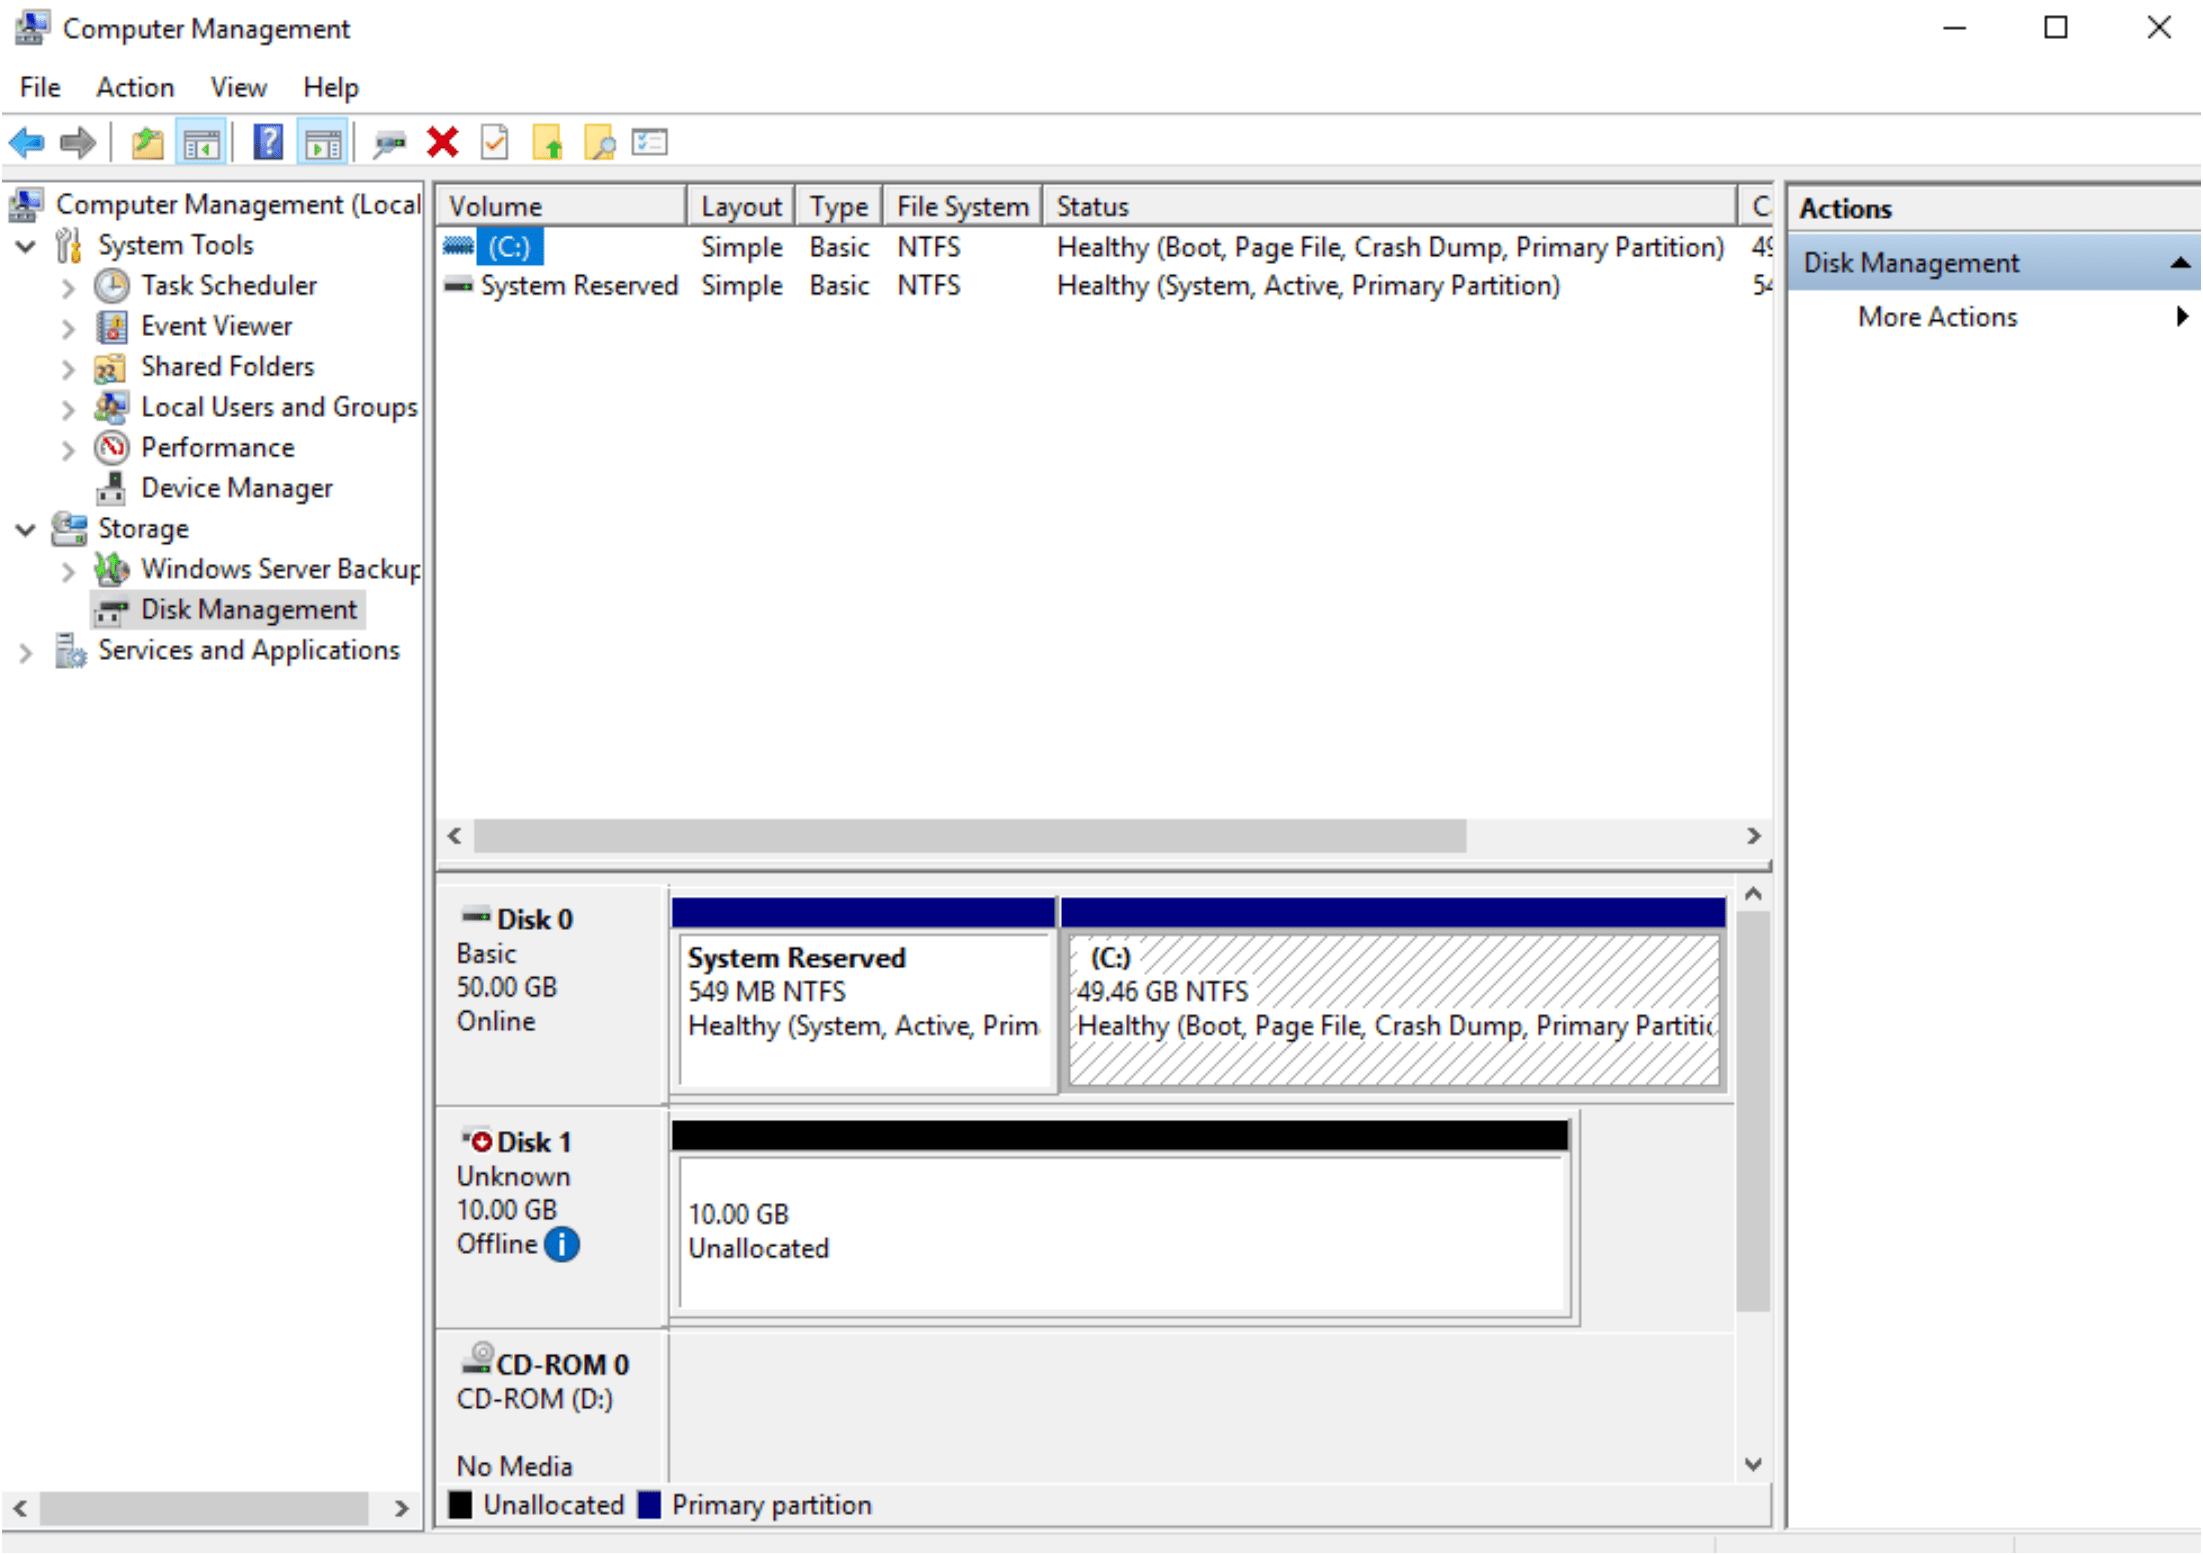
Right click on Disk 1 , make it online, then make as MBR drive
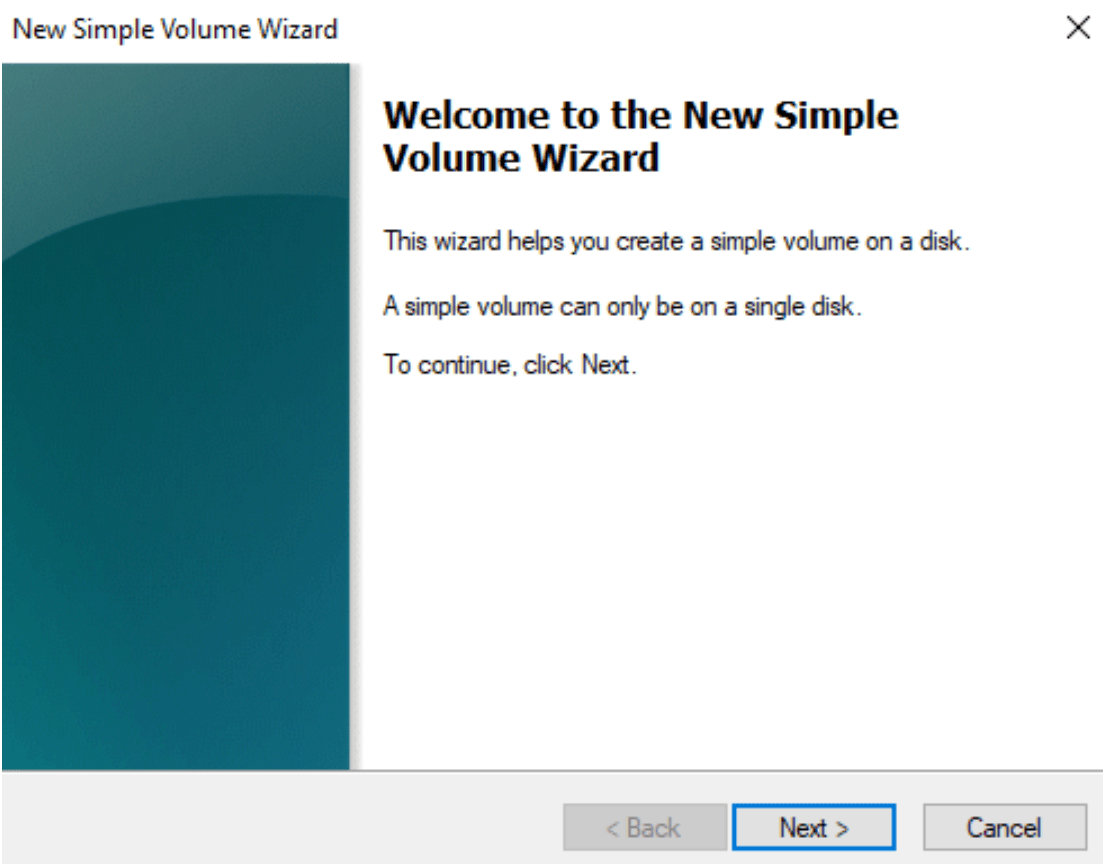
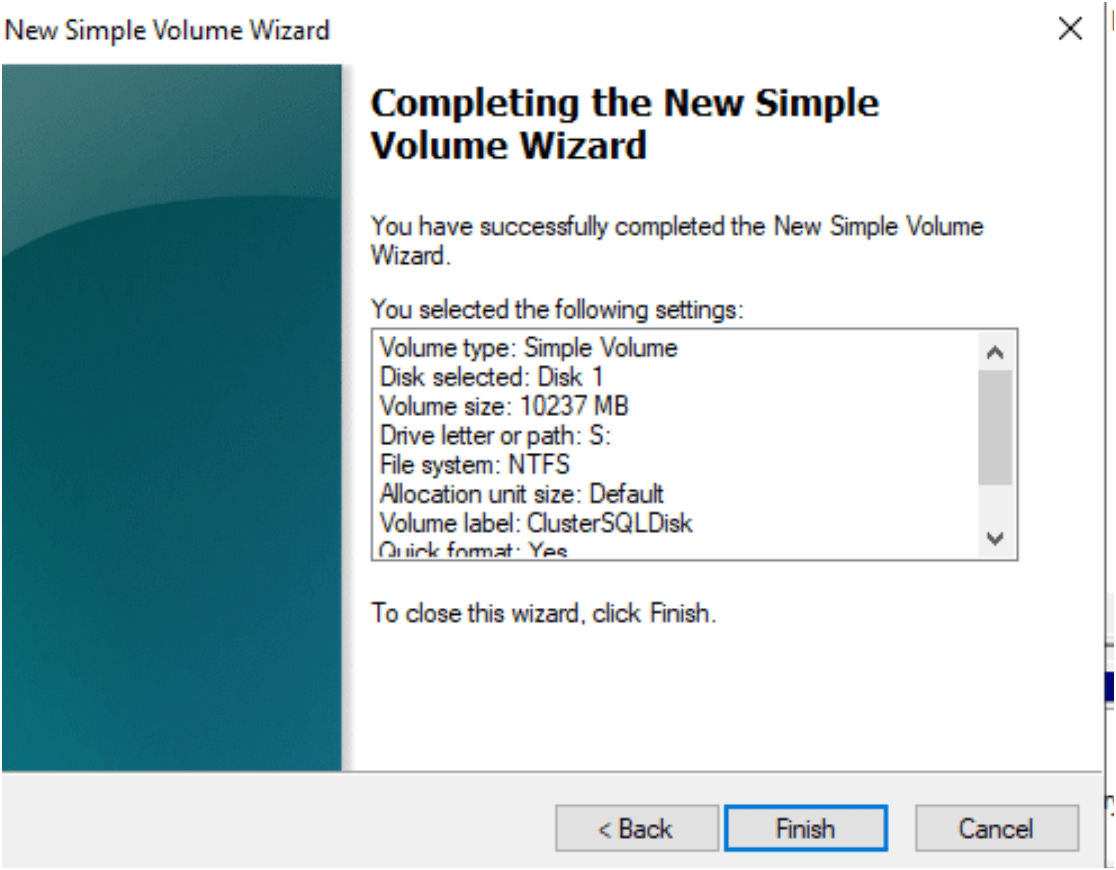
Right click and start create new sample volume wiard.
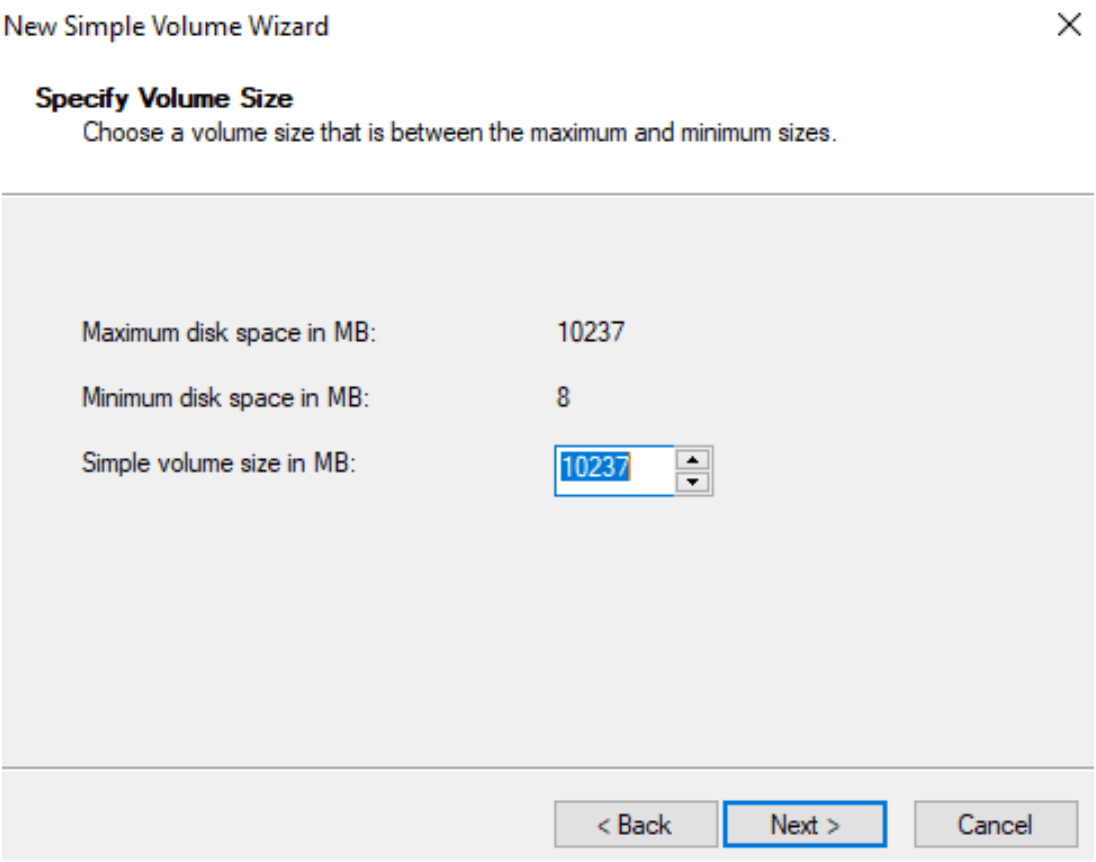
Specify volume size. Choose a volume size that is between the maximum and minimum sizes. I kept as default and press next.
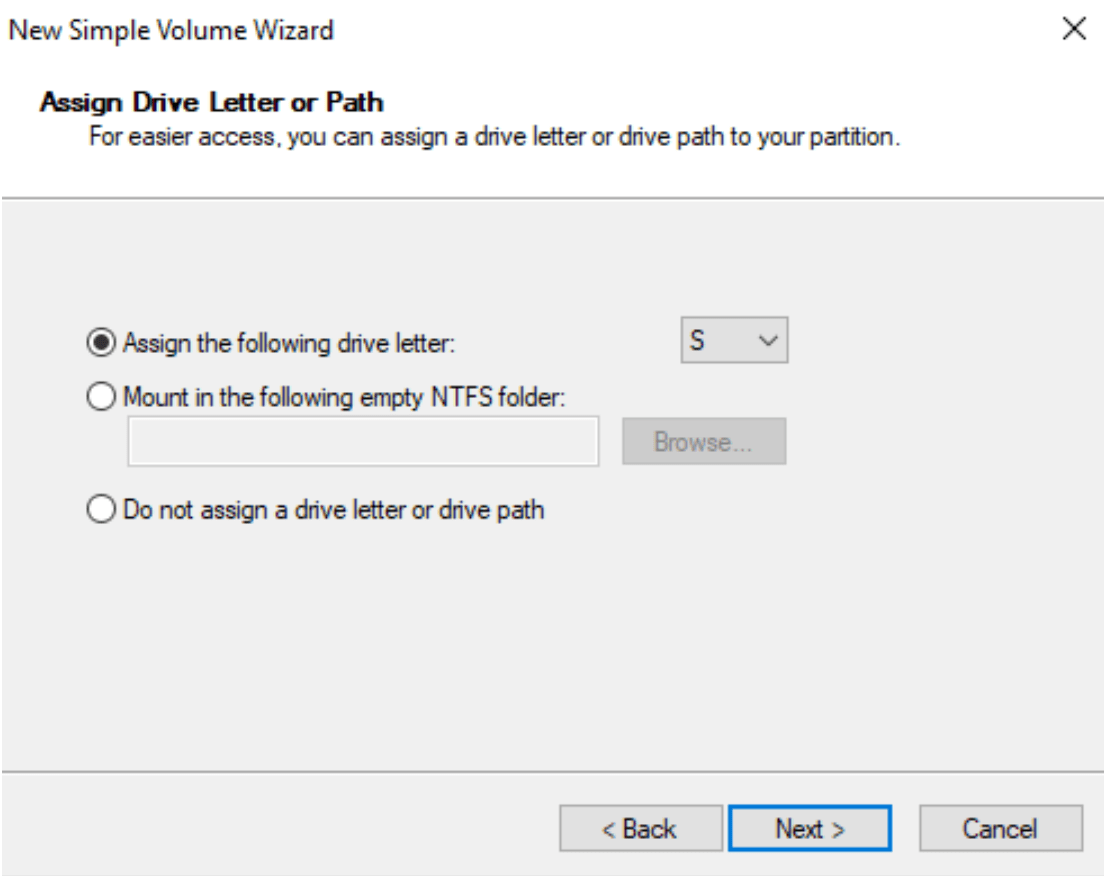
Assign the drive as drive letter. I choose “S”.
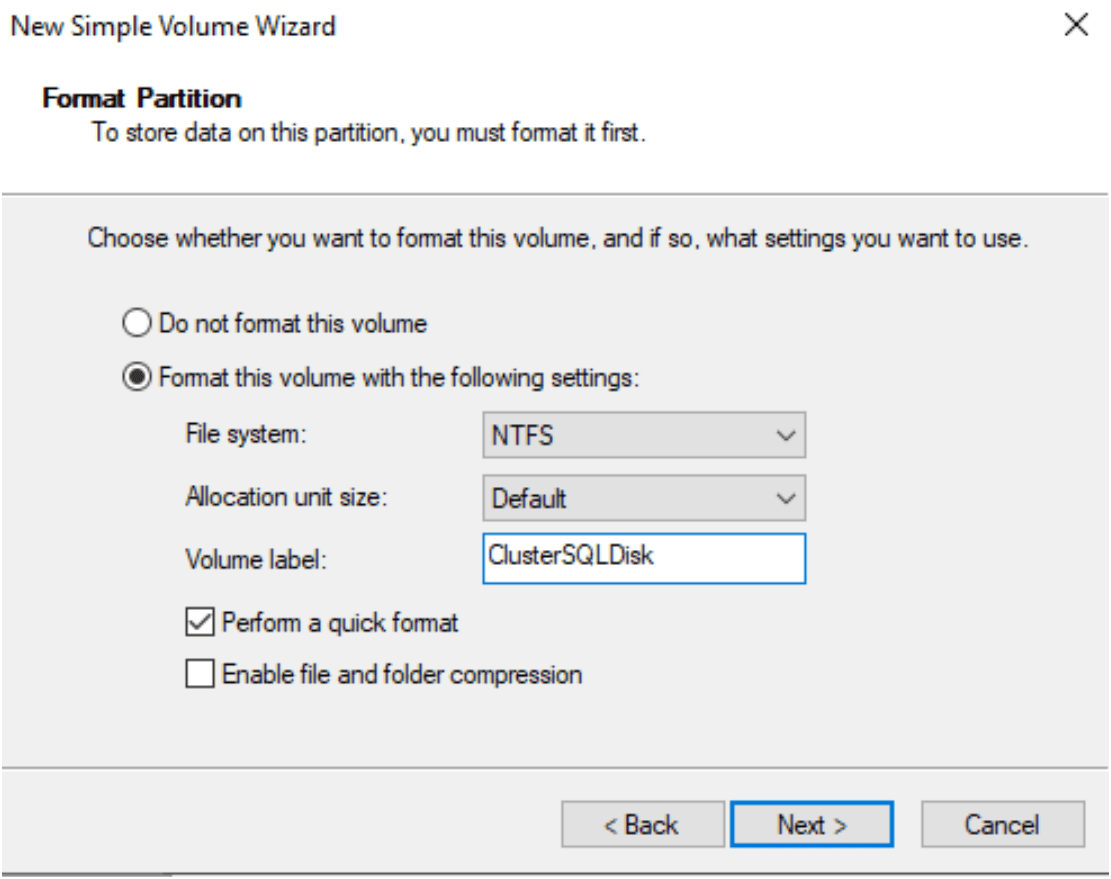
Format the partition: to store data on this partition, you must format it first.
Finish and you will find the new drive in your computer windows
Follow same step to map the drive on second SQL Server Machine 2 for always on or window cluster setup.