Check the Disk resize operation will not effect your data in Azure Cloud.
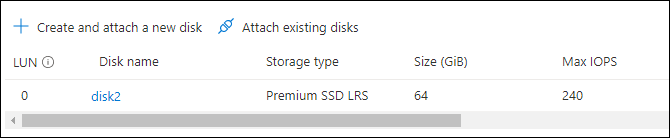
- Login in AZURE portal and go to your VM machine Disk section. We have mapped our VM with 64 GB Disk as “disk2”.
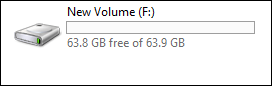
2. Login in window virtual machine and add some data into the disk2 mapped as drive FL in window system with help of disk management tool.

3. For resize operation, we need to deattach the disk in Azure cloud. Go to Disk and at last X sign for deattach the disk and then SAVE.

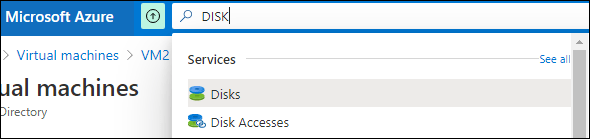
4. Go to Search in Azure and type DISKS –> go to our disk DISK2 .

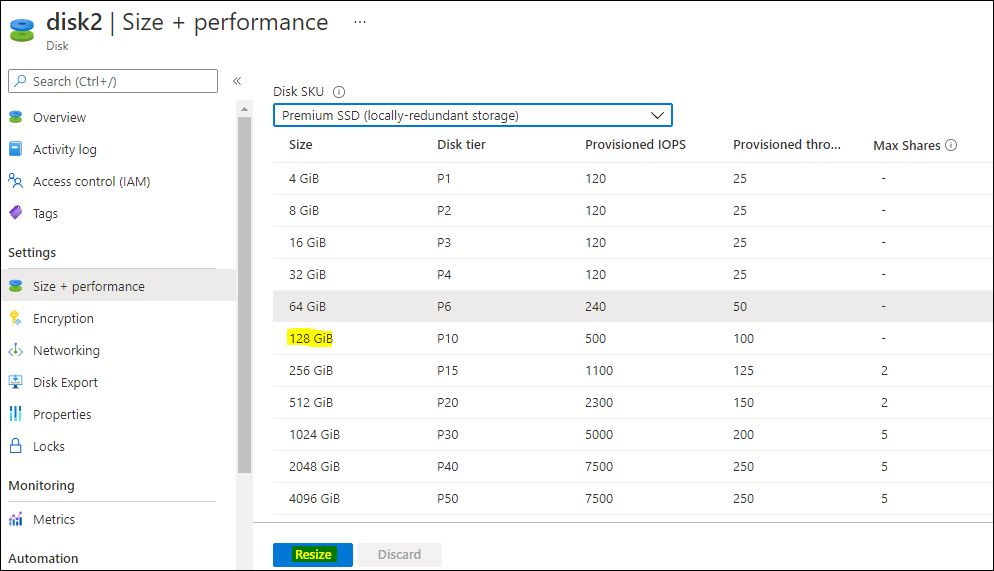
5. Click on Disk2 and go to Size + performance. choose 128 GB and press RESIZE button.
Note: We can only increase the size of Disk. Not able to reduce the size.
If we tried to reduce the disk for Azure platform then it will give following message:

6. After resize operation done –> Go to virtual machine service —> Add the disk with “attach existing disks”

Note: Size 128 is still not shown it will take time to update.
7. Login in Virtual machine with RDP. we see the 64 GB drive is still mapped as F: drive. Then open the Disk management and extended the F: drive to 128 GB. IT will show unallocated 64 gb as shown below:

8. F drive is now 128 GB and data is available as same.
