WSL 2 kernel file is not found and may need to be reinstalled or repaired manually
Error:
C:\Users\Administrator>wsl --updateChecking for updates...No updates are available.The WSL 2 kernel file is not found and may need to be reinstalled or repaired manually.For more information please visit https://aka.ms/wsl2kernel.C:\Users\Administrator>wsl --statusDefault Version: 1WSL automatic updates are on.The WSL 2 kernel file is not found. To update or restore the kernel please run 'wsl.exe --update'.Cause:
This usually happens when WSL is enabled but the Linux kernel is not installed, very common in VirtualBox Windows VMs.
Below is the working solution step-by-step (you can use this directly in your YouTube video).
Solution: Fix “WSL 2 kernel file not found”
🔹 Step 1: Enable required Windows features
Open Command Prompt as Administrator and run:
dism.exe /online /enable-feature /featurename:Microsoft-Windows-Subsystem-Linux /all /norestartdism.exe /online /enable-feature /featurename:VirtualMachinePlatform /all /norestartExample:
C:\Users\Administrator>dism.exe /online /enable-feature /featurename:Microsoft-Windows-Subsystem-Linux /all /norestart

Deployment Image Servicing and Management tool
Version: 10.0.20348.1

Image Version: 10.0.20348.587

Enabling feature(s)
[==========================100.0%==========================]
The operation completed successfully.

C:\Users\Administrator>dism.exe /online /enable-feature /featurename:VirtualMachinePlatform /all /norestart

Deployment Image Servicing and Management tool
Version: 10.0.20348.1

Image Version: 10.0.20348.587

Enabling feature(s)
[==========================100.0%==========================]
The operation completed successfully.
👉 Restart Windows after this.
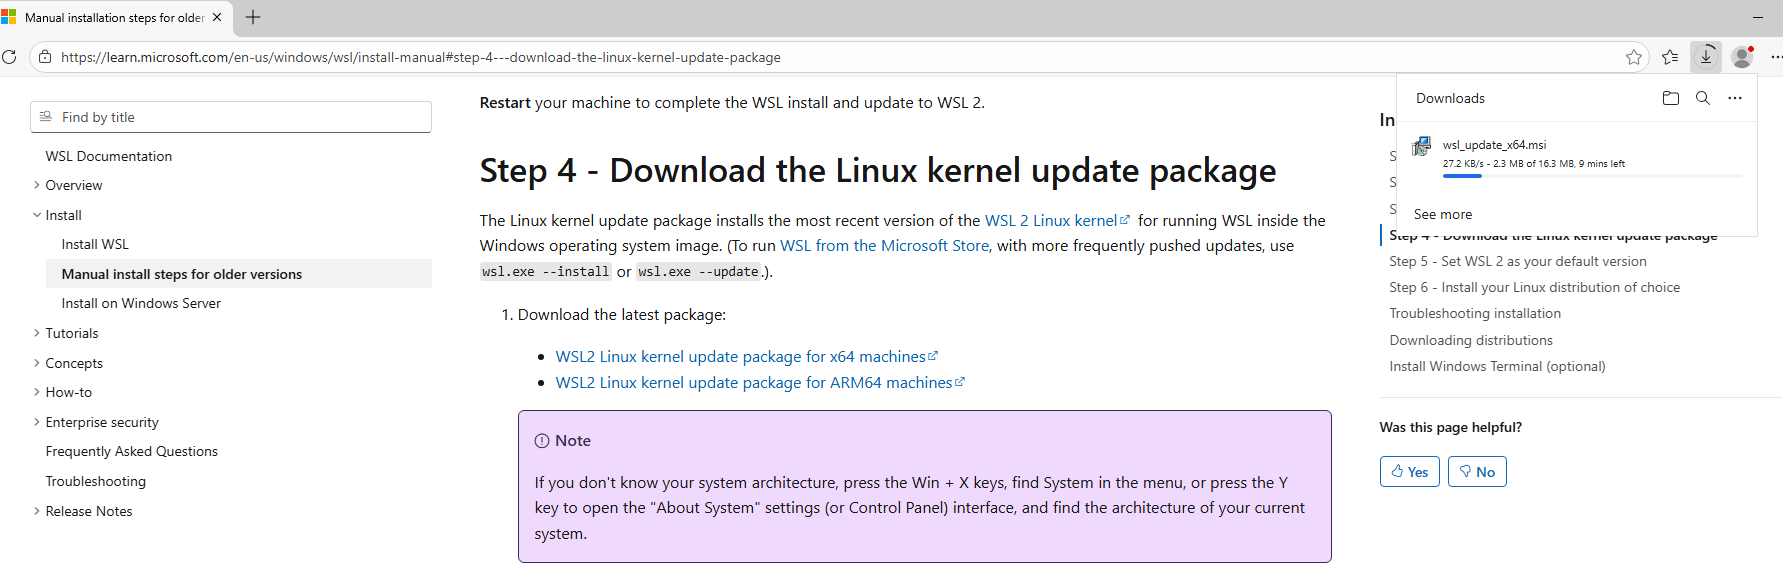
🔹 Step 2: Download & install WSL2 Linux kernel (IMPORTANT)
WSL kernel is NOT auto-installed in VirtualBox.
👉 Open this link in browser:
https://aka.ms/wsl2kernelDownload wsl_update_x64.msi
Double-click and install it
Restart Windows again
Step 3: Set WSL 2 as default
After restart, open Command Prompt (Admin):
wsl --set-default-version 2


C:\Users\Administrator>wsl --update
Checking for updates…
No updates are available.
Kernel version: 5.10.16
Step 4: Verify WSL installation
Run:
wsl --statuswsl -l -vVery Important (VirtualBox Users)
If WSL still fails:
✔️ Enable Nested Virtualization
- Power OFF Windows VM
- In VirtualBox → Settings → System → Processor
- ✔️ Check Enable Nested VT-x/AMD-V
- Start VM again
Note: But is some cases, this option is disabled
Why VT-x / AMD-V is DISABLED in VirtualBox
You are running Windows inside Oracle VirtualBox, and:
- Hardware virtualization is already used by the HOST
- VirtualBox cannot pass VT-x/AMD-V to a guest VM unless:
- CPU supports nested virtualization
- AND it is explicitly enabled
On many systems (especially laptops), nested virtualization is NOT supported or blocked, so VirtualBox shows it as Disabled / Greyed out.