How to install PostgreSQL database in Windows
Step 1: Download the PostgreSQL setup from PostgreSQL site.
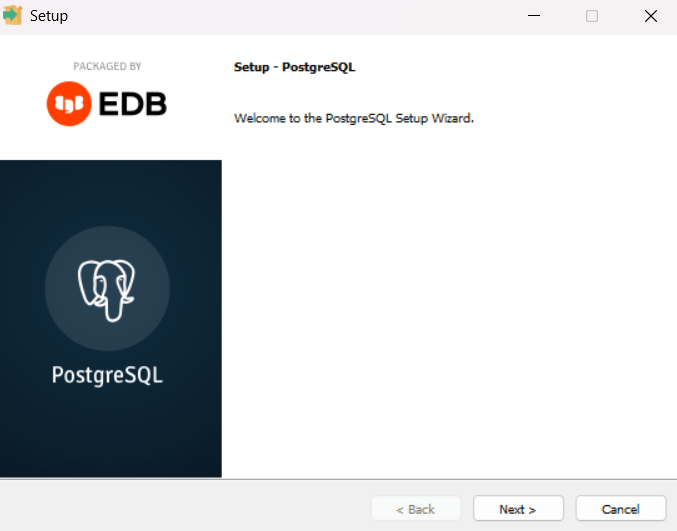
Step 2: Double click on the downloaded software of PostgreSQL file. First screen will appears as:
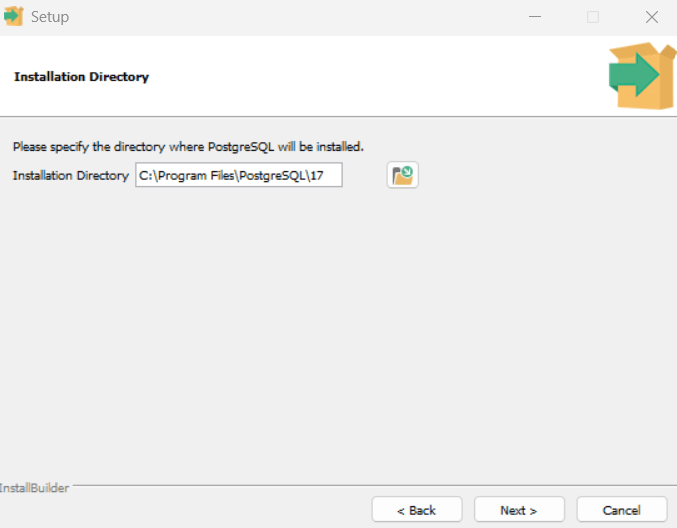
Step 3: Choose the installation directory. I keep at default as shown:
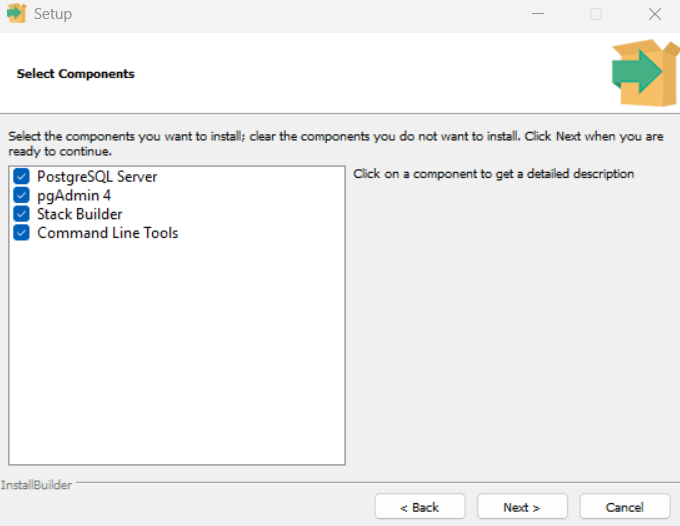
Step 4: I installed all the components. Default all components is checked.
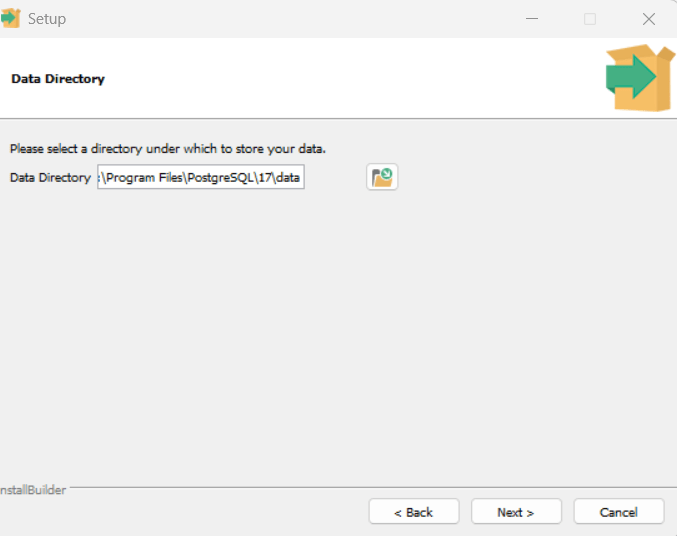
Step 5: Choose the directory where data files are installed. In production environment you can specify the other drive rather than C: drive on fast disk. I keep as default.
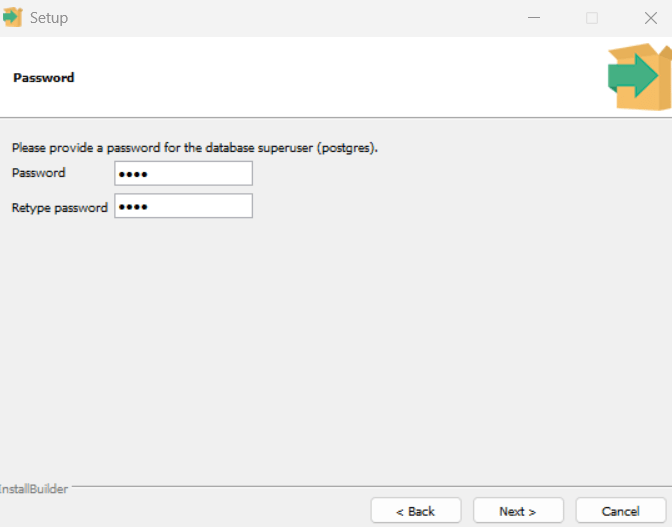
Step 6: Choose the password for superuser of PostgreSQL instance. user: postgres
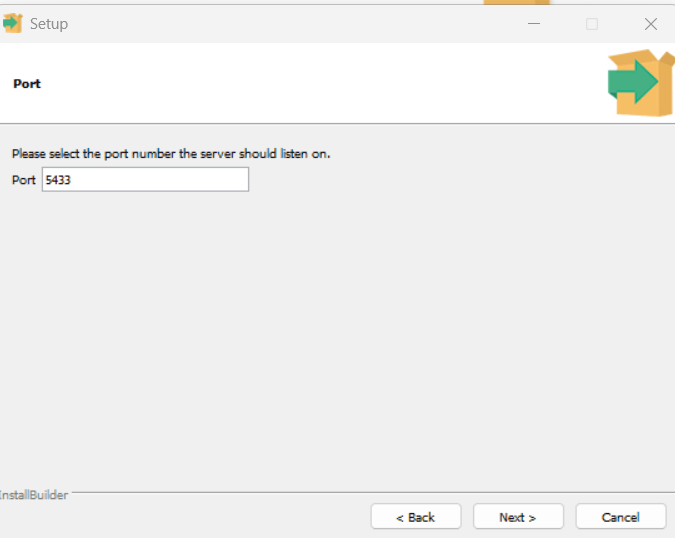
Step 7: Default port used by postgreSQL is 5433. You can choose specific to your need.
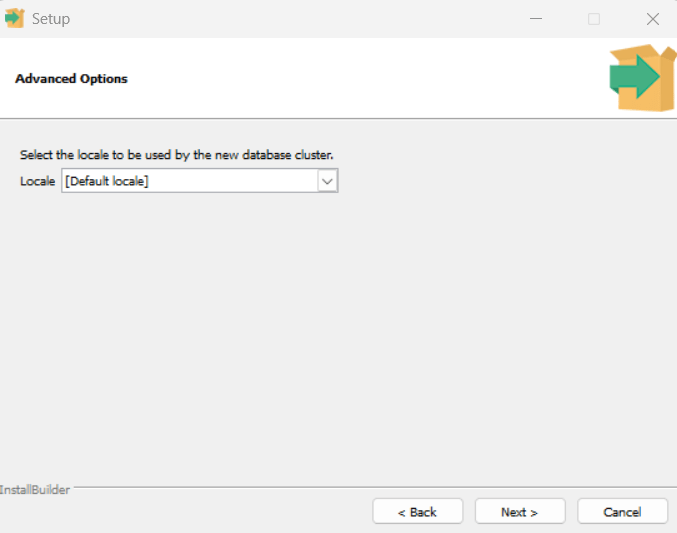
Step 8: Select the locale to be used. I keep at default as Operating System.
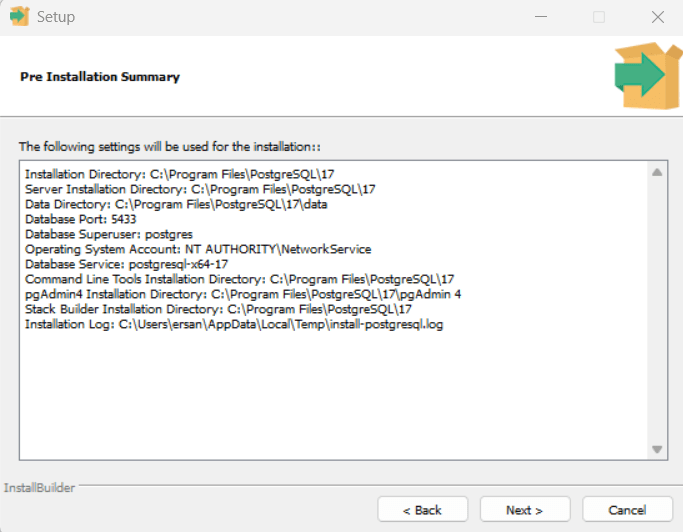
Step 9: Pre Installation Summary which included the Installation location of each components.
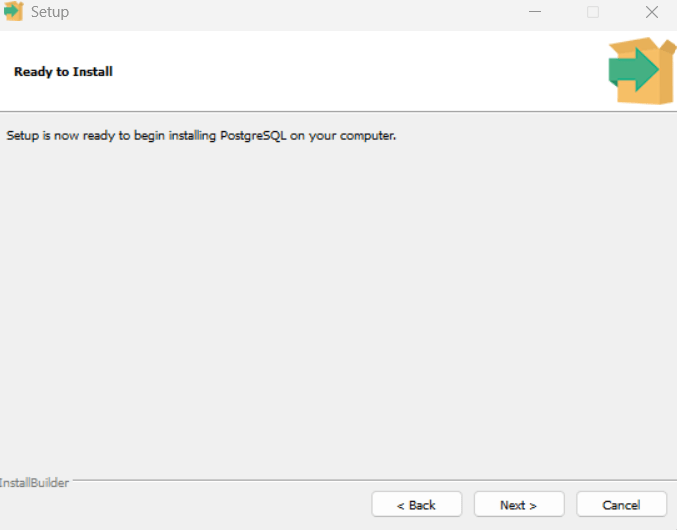
Step 10: Install Ready of PostgreSQL
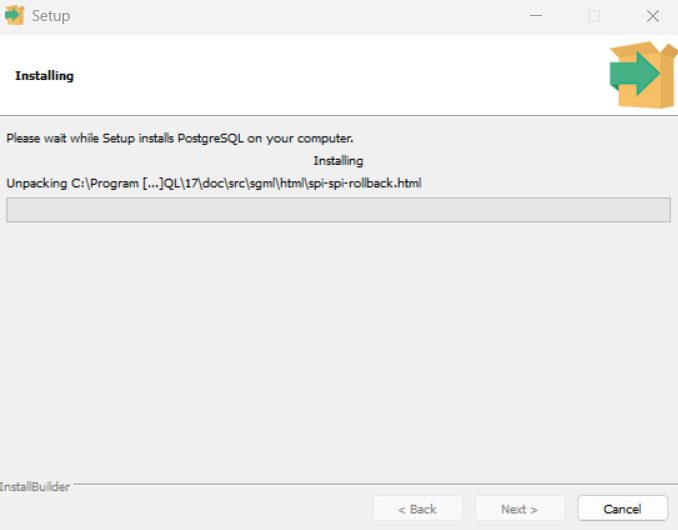
Step 11. Installation is in Progress.
Step 12: Installation is completed.
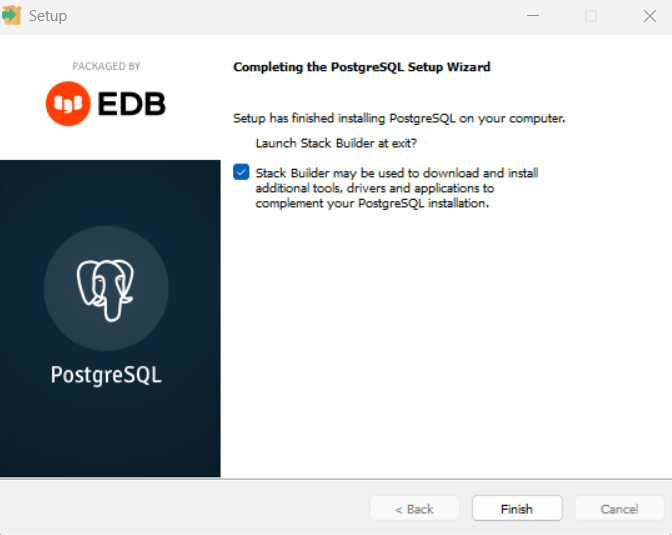
Step 13: Click on Finish button, If you need stack builder then you can continue with installation as shown otherwise uncheck it and finish it.
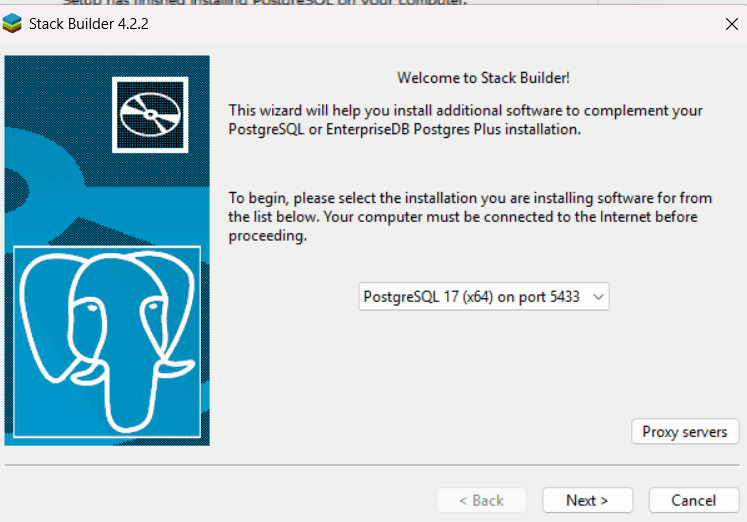
Step 14: its include following components to install as shown in following snapshots:
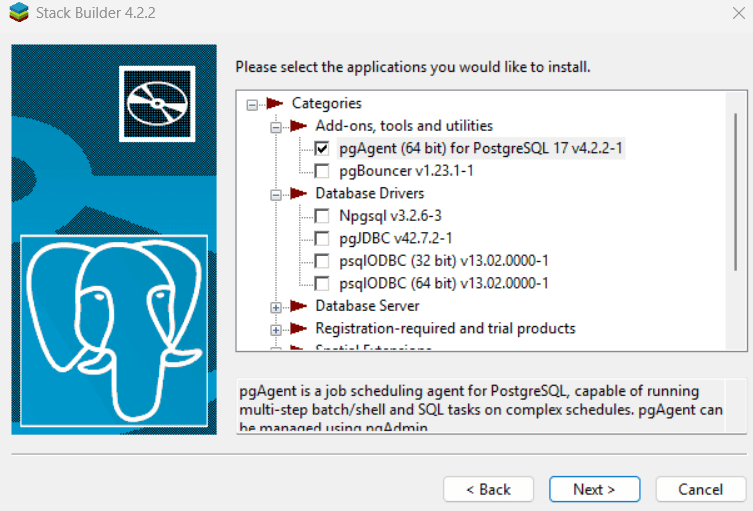
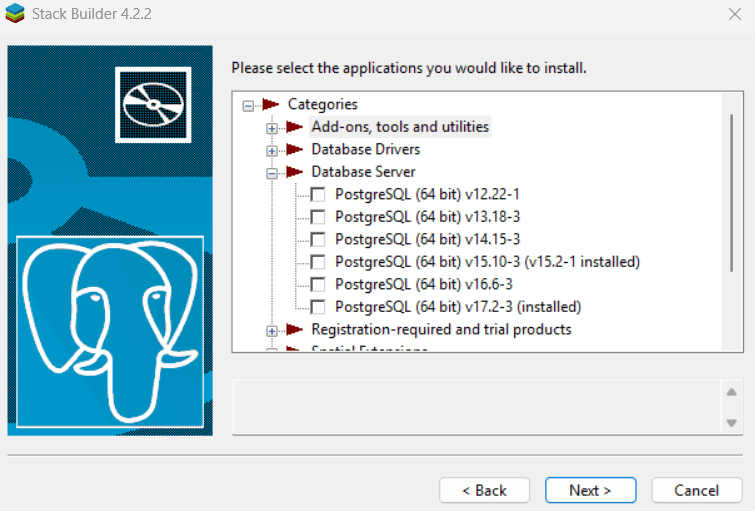
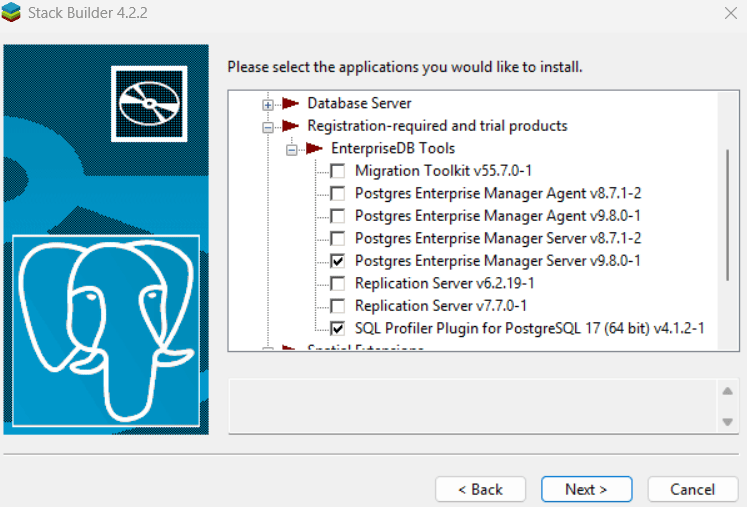
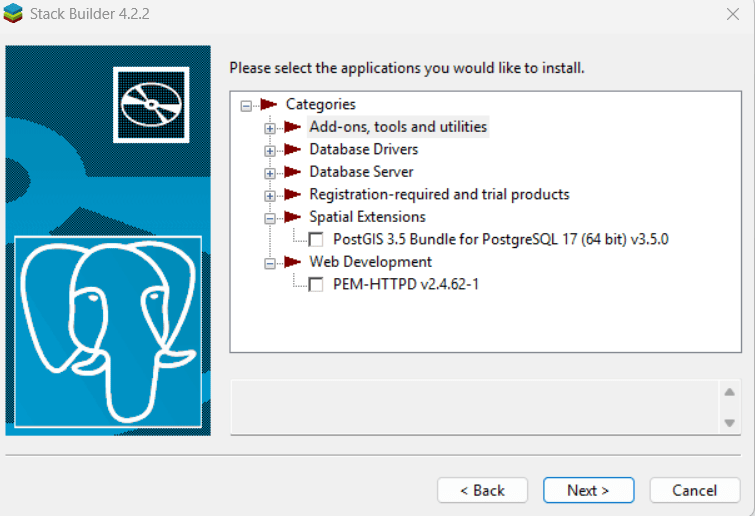
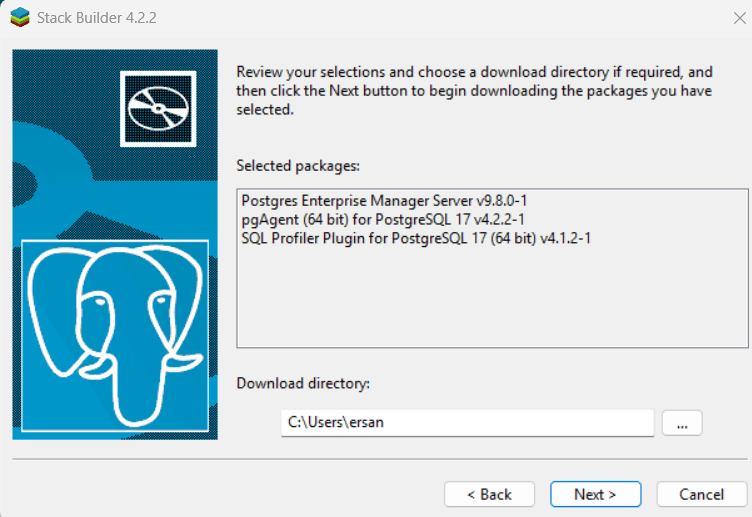
Step 14: Check the components as your need and click next. It will show the selected component list you selected:
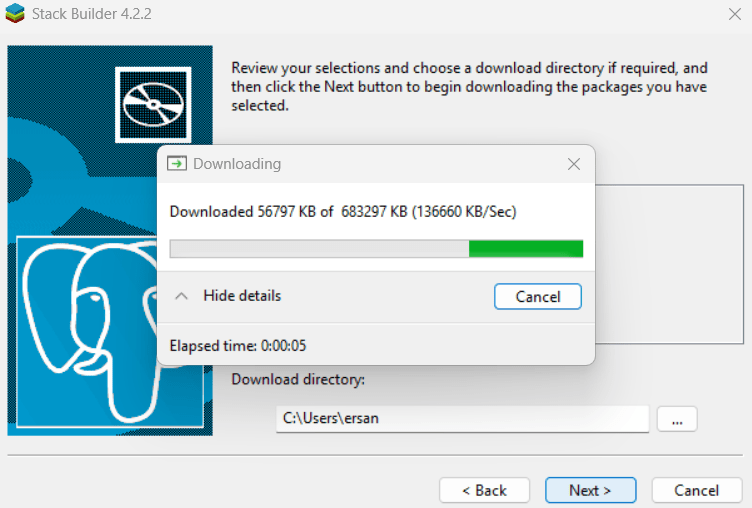
Step 15: Download the packages started.
Step 16: All files downloaded
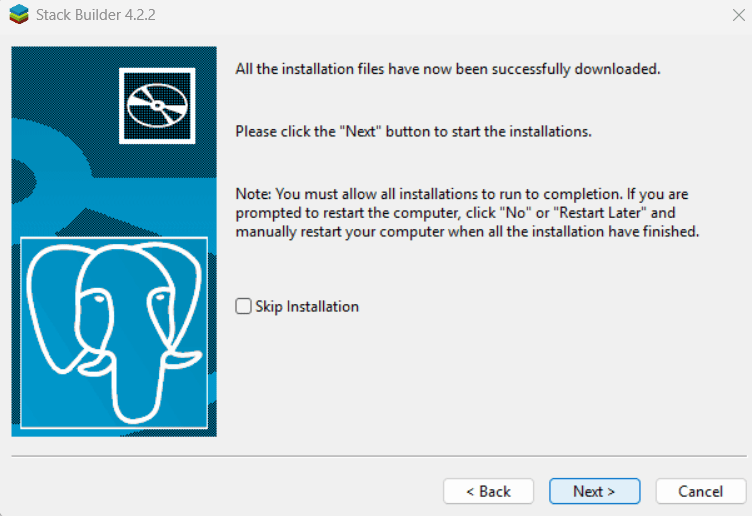
Step 17: it will install and finish.