Deploy a basic NGINX web server as a Kubernetes Pod and check if it’s running correctly.
Step 1: Create the YAML Manifest for the Pod
 -- create a new yaml file using editor
 nano nginx-pod.yaml

 -- add following in file:
 apiVersion: v1
kind: Pod
metadata:
  name: nginx
spec:
  containers:
    - name: nginx
      image: nginx:latest
      imagePullPolicy: Never
      ports:
        - containerPort: 80
Explain:
apiVersionandkind: This tells us that we are creating a Pod using the mainv1 API.metadata.name: We name our Podnginxfor easy reference later.spec.containers: This section specifies which container will run. Here, we are using the officialnginx:latestimage.imagePullPolicy: Never: This instructs Kubernetes not to download the image from a registry, which is useful since our setup is offline.ports.containerPort: 80: TheNGINXcontainer operates on port80, the typical port for web traffic.
Ensure the Image Is Available in Minikube
To ensure the nginx:latest image is ready in Minikube, run this command:
-- For load the image:minikube image load nginx:latest
Apply the YAML Manifest
To apply your Pod settings to the cluster, run this command:
kubectl apply -f nginx-pod.yamlpod/nginx created
Note: The kubectl apply command sends your YAML file to Kubernetes, which creates the Pod as you set it up. If you change the YAML later, just run kubectl apply again to update the Pod without starting over.
Verify the Pod is Running
To check your Pod’s status, you need to run the following command:
kubectl get podsNAME READY STATUS RESTARTS AGEnginx 1/1 Running 0 2m1s
kubectl get pods shows all the Pods in your current namespace. Look for a Pod called nginx and check if its STATUS is Running. If it says Pending, just wait two minutes because it’s still starting. If your Pod isn’t running, don’t worry! Check your YAML for mistakes and use kubectl describe pod nginx for more details. You’ll be fixing issues like a pro soon!
kubectl describe Pod nginxOutput:Name: nginxNamespace: defaultPriority: 0Service Account: defaultNode: minikube/192.168.0.5Start Time: Thu, 18 Jun 2026 12:57:10 +0000Labels:Annotations:Status: RunningIP: 10.244.0.3IPs:IP: 10.244.0.3Containers:nginx:Container ID: docker://5ca8169a69362f1f81d9a7e26e009b1804d3cb062e123b5213ec3b95fcd9f86fImage: nginx:latestImage ID: docker://sha256:eaf6f386053efdf0ad30236a394b4460e3669006afc9eb1220ae2047f330cc9cPort: 80/TCPHost Port: 0/TCPState: RunningStarted: Thu, 18 Jun 2026 12:57:11 +0000Ready: TrueRestart Count: 0Environment:Mounts:/var/run/secrets/kubernetes.io/serviceaccount from kube-api-access-7zrnr (ro)Conditions:Type StatusInitialized TrueReady TrueContainersReady TruePodScheduled TrueVolumes:kube-api-access-7zrnr:Type: Projected (a volume that contains injected data from multiple sources)TokenExpirationSeconds: 3607ConfigMapName: kube-root-ca.crtConfigMapOptional:DownwardAPI: trueQoS Class: BestEffortNode-Selectors:Tolerations: node.kubernetes.io/not-ready:NoExecute op=Exists for 300snode.kubernetes.io/unreachable:NoExecute op=Exists for 300sEvents:Type Reason Age From Message---- ------ ---- ---- -------Normal Scheduled 3m44s default-scheduler Successfully assigned default/nginx to minikubeNormal Pulled 3m43s kubelet Container image "nginx:latest" already present on machineNormal Created 3m43s kubelet Created container nginxNormal Started 3m43s kubelet Started container nginx
Test the Web Server Locally
Your Pod is running in the cluster, which keeps it separate from your environment. To access it directly, you need to temporarily link a local port to the Pod’s port.
To do this, run this command:
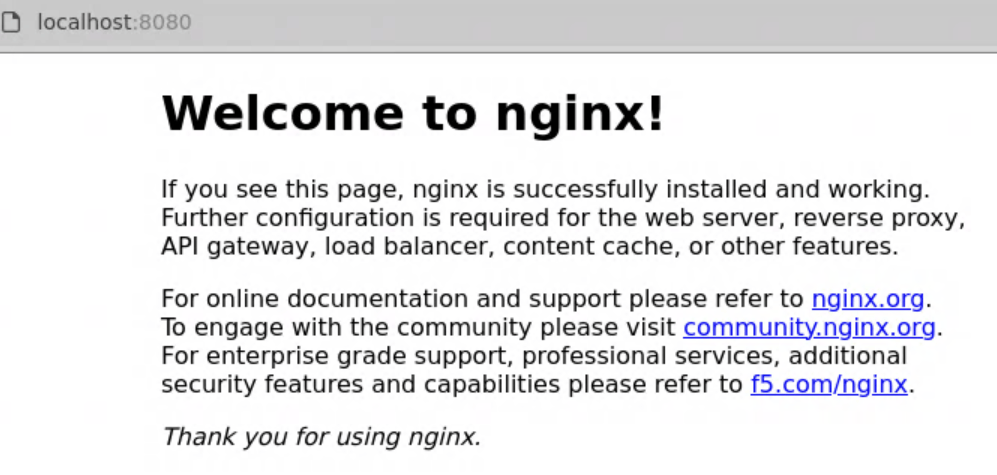
kubectl port-forward pod/nginx 8080:80kubectl port-forward pod/nginx 8080:80 & -- use & for run in background
Test on the browser window: using URL localhost:8080