How to install the Oracle Database software in Windows environment
- Download the Oracle Software in Oracle.
2. Unzip the software and start the setup process in the folder.
Note: The location where you unzip the Oracle 19c software will be set as the Oracle Home. To set the Oracle Home to C:\oracledb, you must keep the Oracle Software there and start the setup from that location; otherwise, it will create the Oracle binaries home based on where you actually start the setup.
3. Choose to create and configure a single instance database in Oracle Database software. This will start the database creation during installation; otherwise, you will need to create the database separately later using the DBCA command.

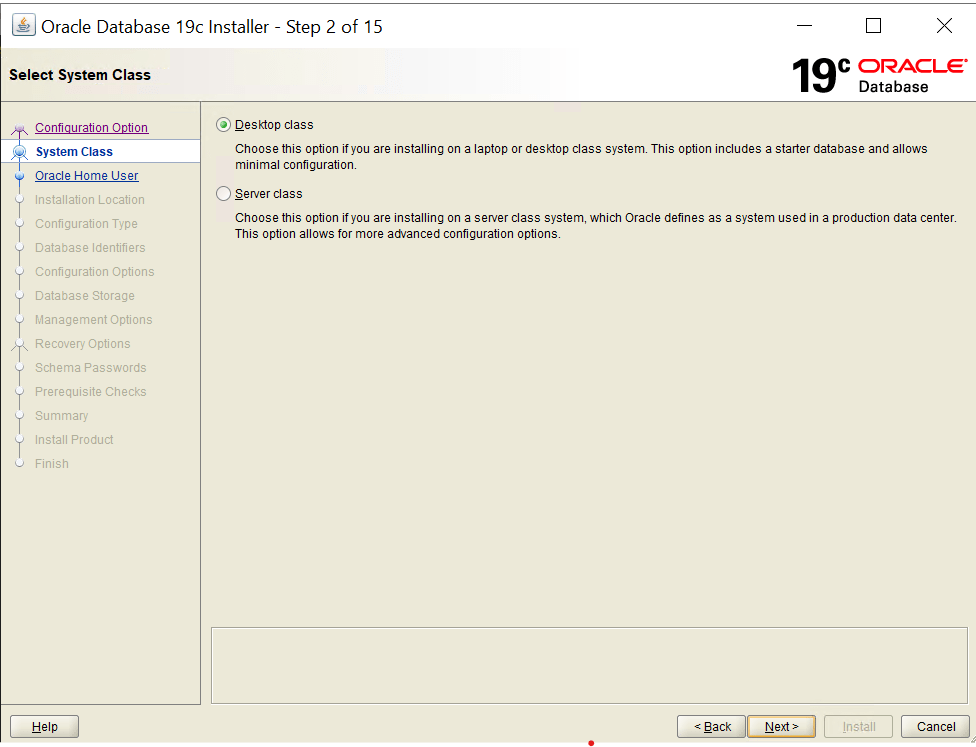
4. Choose Server class or Desktop class. If you install on you laptop then choose Desktop class or in Production or Test Server choose Server class
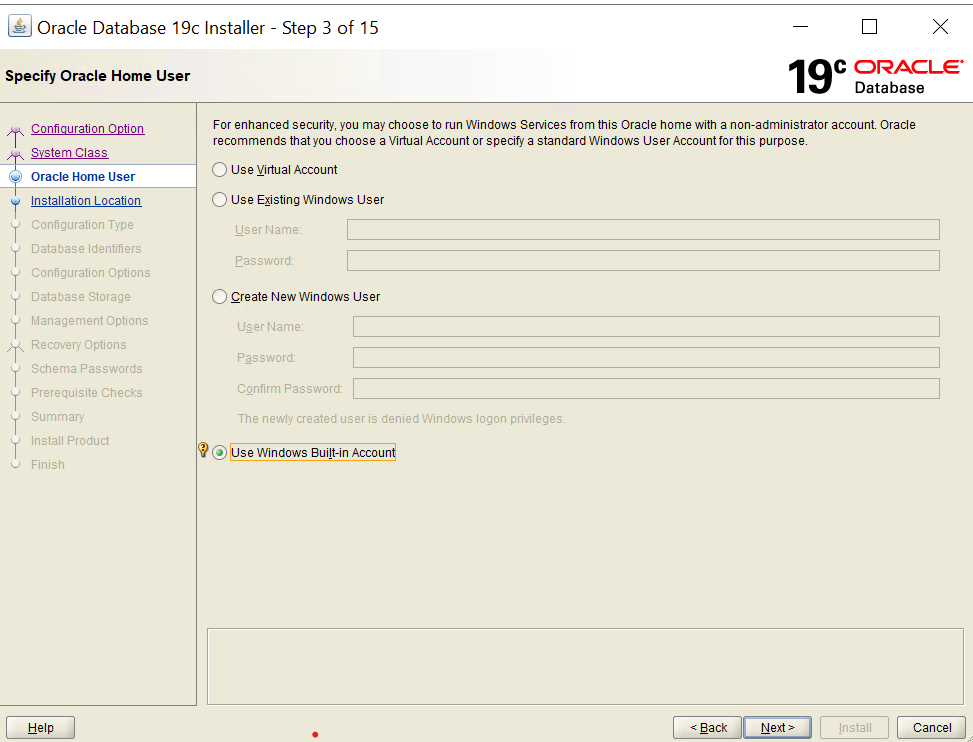
5. Choose the Windows Built-in Account for installing Oracle 19c.
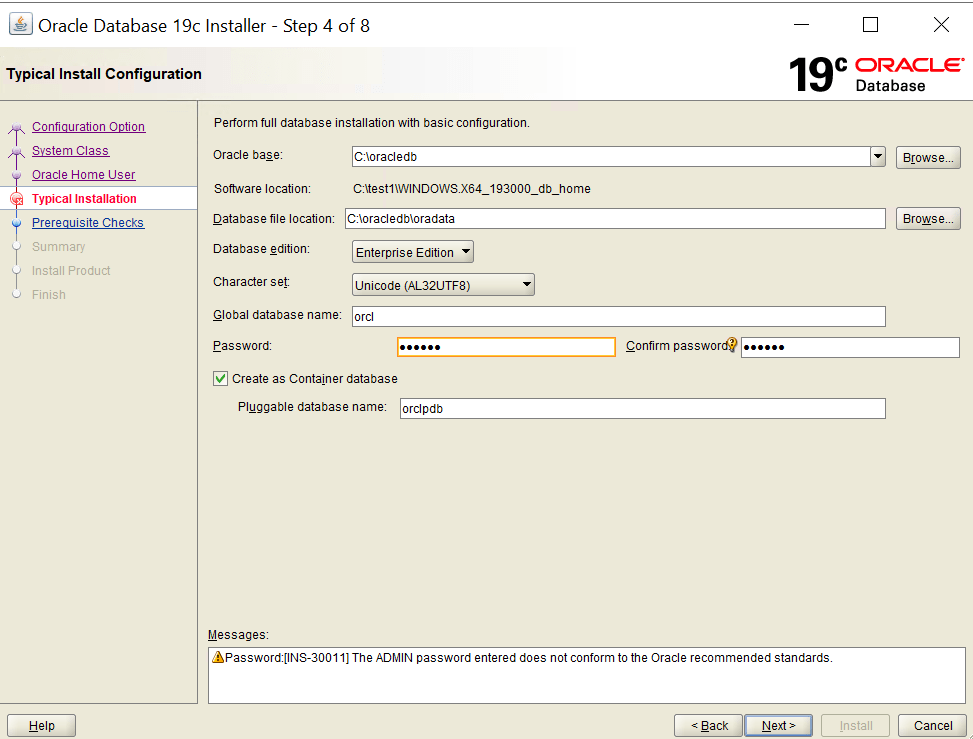
- Select the main location for Oracle, where the data files are stored in a folder called Oradata. This folder includes all the Oracle data files.
Pick either the Enterprise Edition or Standard Edition based on your needs.
Choose a character set, then provide the name for the Oracle SID and the password for the SYS user.
Decide if you want to create a container database or a non-container database. If you choose a container database, it will create a pluggable database (PDB) along with it.
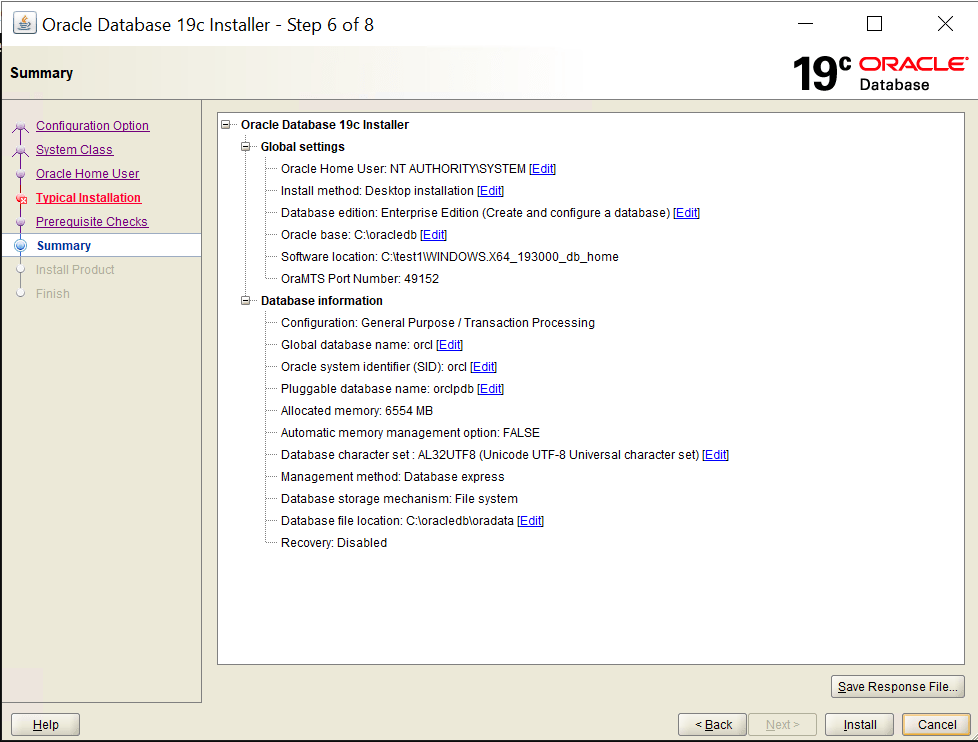
7. After prerequisite checks, if everything passes, then we will see the summary screen as follows:
8. Installation in progress.
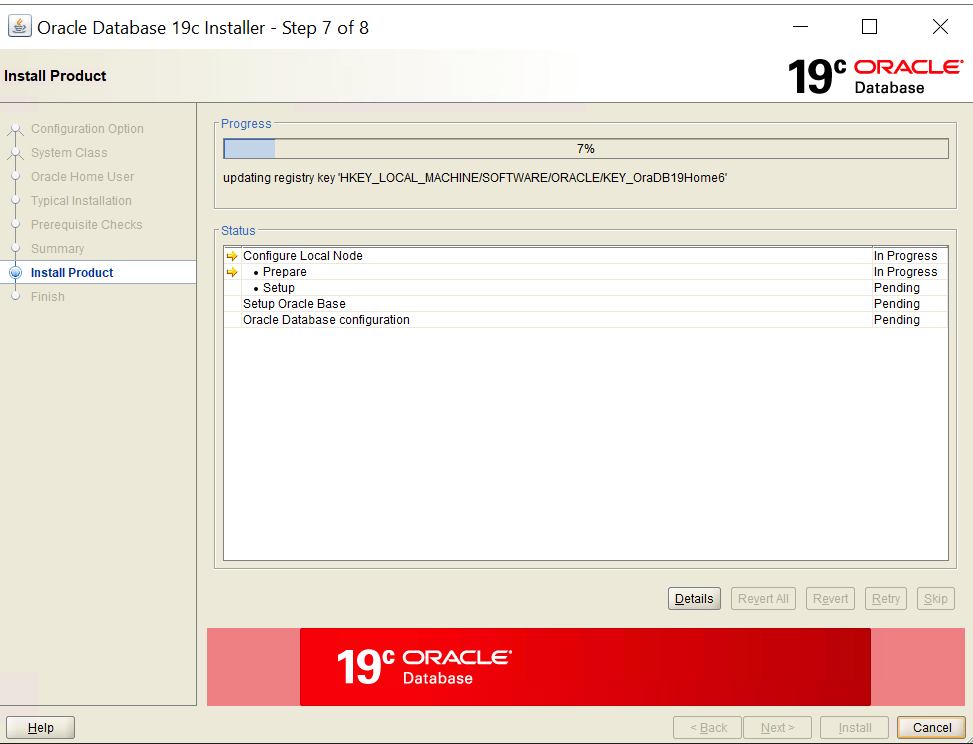
Progress…

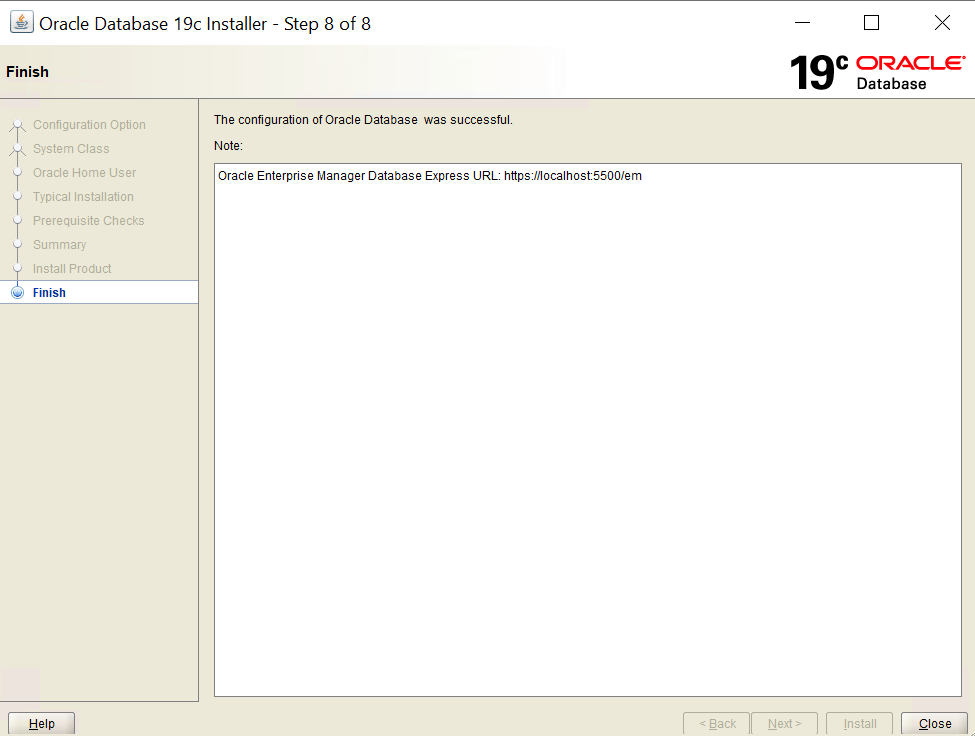
9. Installation is done for Oracle Database.